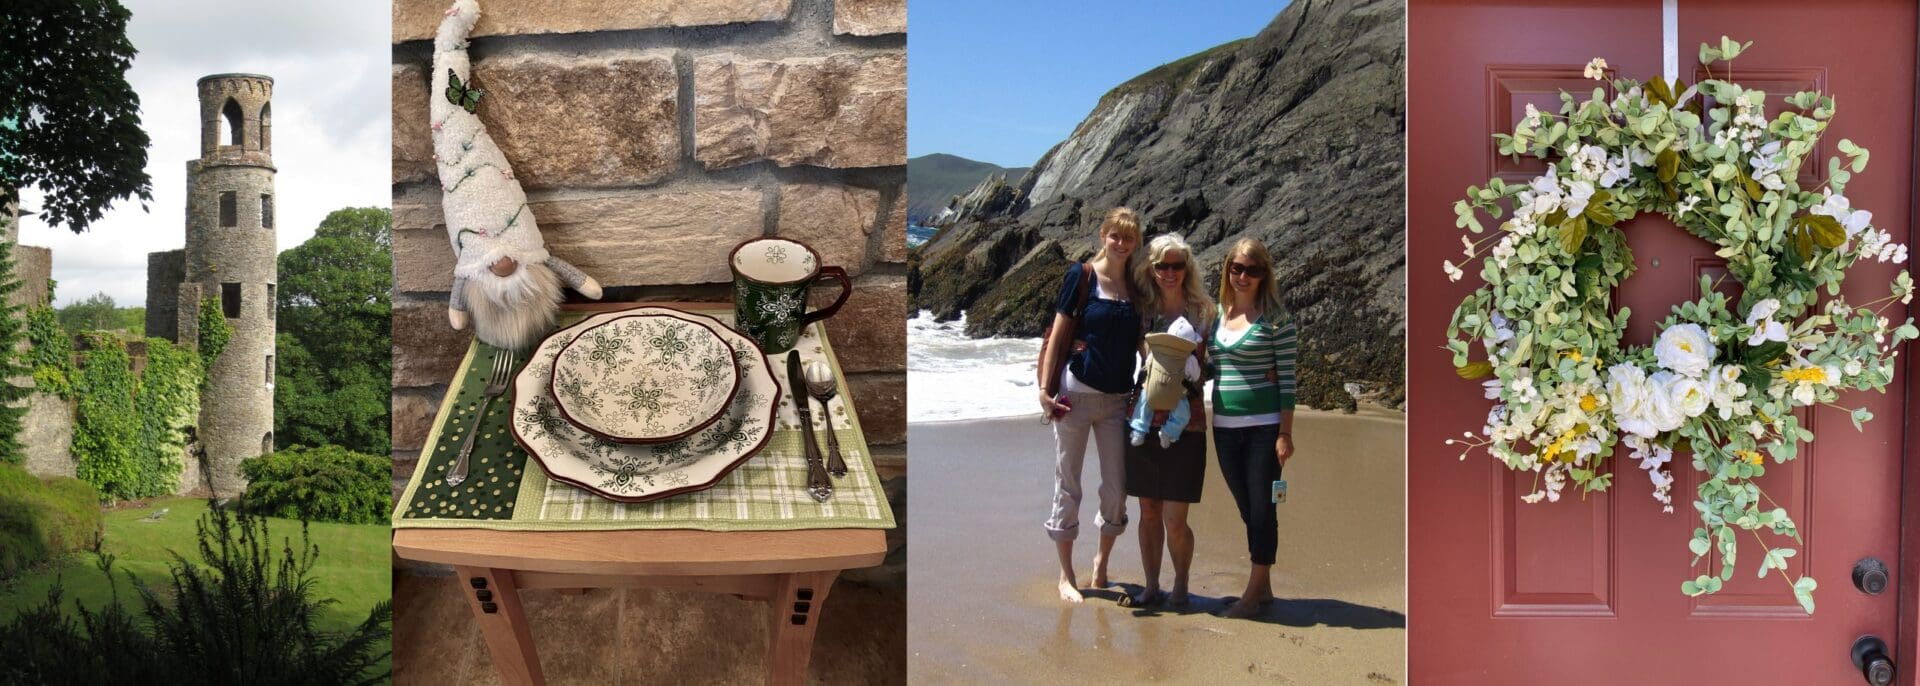
St. Patrick’s Day holds a special place in my heart for two reasons – First, my husband’s name is Patrick – and he is often a saint – and – shortly after Kayla was married – and 3 months after Kira’s first daughter, Gabriella, was born, our entire family went on a trip to Ireland and we LOVED it. The pictures in our feature image above are from the Blarney Castle – where we of course kissed the Blarney Stone – on the beach at the Dingle Peninsula and …. We look back at it now and sure hope things open up so we can go again.

With another holiday coming right up – I wanted to make some St. Patrick’s Day Mug Rugs. I created new Irish themed appliques to use on Kayla’s Mug Rugs pattern. I picked four one-half yards of fabric from my local quilt store – and I was able to make two mug rugs and two placemats.
Here are the two placemats … all dressed up with my new dishes!

And here are the two mug rugs!

The Love Gnome design is really easy to add to the mug rug. 1) Trace the appliques onto fusible web. Note: You will need to trace each of the elements separately – on the applique sheet as they overlap with each other. Remember – on the applique sheet the letters for LOVE will be reversed so they will turn out the right way when they are appliqued on to the mug rug. 2). Iron the appliques onto the wrong side of your chosen fabrics. 3) Cut them out and iron them in place on the mug rug. 4) Satin stitch around the outside of the design with a coordinating thread. I feel the LOVE already!
I felt the love so much that I added the Love Gnome to a St Patrick’s Day placemat as well. I think I like the applique satin ‘outlines’ better in the darker green that I used on the Rug Mugs than the lighter green that I used below on the placemats – I think it makes the design pop more. The placemat pattern is available for free on our website.

Now for the tricky applique! Do you remember folding paper and cutting out snowflakes?
Making the four-leaf clover is bit like that. I wanted it to be delicate looking and have the background fabric peek through the heart shape. You can use the template in the pattern – or you can create your own design.
Here are the steps:
- Cut out a square of paper – make sure it is about the size that you want your design to fit into.
- Fold the square into a triangle
- Fold it again into a smaller triangle
- Fold it once more into an even smaller triangle
- Draw the shape of one half of a heart on the folded triangle – making sure that the center of the ‘heart’ is on the fold. It is very important that the left hand side of the heart comes out on the folds on the opposite side. In other words – you do not want to cut off the bottom point were all the folds are. Open it up and you should have a four-leaf clover.
- If you would like the background fabric to show through the center of the of the shamrock leaf – you just need to cut one more heart shape from the fold.

Here is what your paper pieces should look like now

After you have mastered the look that you want for the shamrock with paper – you can move on to fabric.
- Cut a square piece of fabric the same size as you used in the paper version.
- Cut a piece of fusible web just slightly smaller than the square you cut in step one.
- Iron the fusible web to the wrong side of the fabric you cut in step 1
- Fold the fabric square into a triangle
- Fold it again into a smaller triangle
- Fold it once more into an even smaller triangle.
- Cut the shamrock shape out of the folded fabric – this won’t be nearly as easy as the paper – you may need to do it one or two ‘leaves’ at a time.
- Cut the heart shape out of the center of each ‘leaf’ – SAVE these cutouts! They can be used to create yet another shamrock.

Cut out the stems for the shamrocks from some of the ‘left over’ fabric with the fusible web attached.
So now for those little hearts that were cut out of the larger shamrock. Pull the paper off the back of the small hearts and arrange them in the shape of a shamrock. The paper backing is in the upper left corner of the picture below.

Now just add the stem and do a add a satin stitch around the outside edge of the applique.

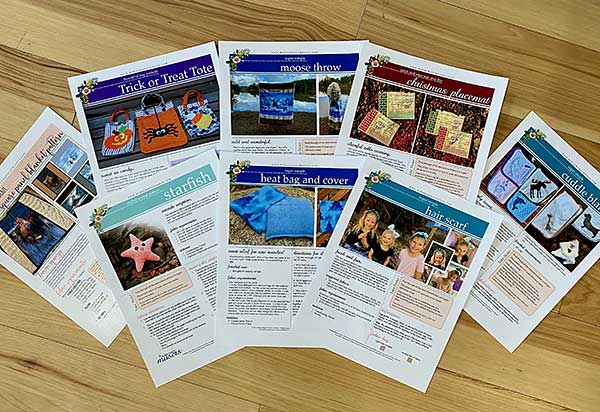
We have added the St. Patrick’s day applique designs to the Halloween Mug Rug pattern so they will be included as you like to purchase it – it’s just $5 on our website.
If you are looking for other fun Holiday ideas – I just reprinted our Spring Splendor pattern so we are back in stock – It has quilts for three holidays: St. Patrick’s Day, Easter and the 4th of July. There are EIGHTEEN 11×17 pages of cute appliques for the blankets. They are designed to be crib size (46″ x 58″) but are the perfect size for a play mat or even for a picnic.
Kira and Kayla were out at my house to help me with the virtual sewing classes for the Puyallap Sew Expo last month – which were a lot of fun by the way – now that we kind of know what to do – we are definitely willing to teach virtually again.

We took the opportunity to make wreaths again. We went to Hobby Lobby and bought a huge stack of floral during their 50% off sale.

We all had different bases for the wreaths – Kira used grapevine – I used wire – and Kayla used a pre-made wreath. Then we started placing flowers and extra greenery – Kira has taught us that we need to create a focal point for the wreath – where you have a cluster of flowers. Thanks Kira!
Here’s what Kira designed

Here is Kayla’s wreath – after Kira help her organize the flowers and create the focal point.

And here’s mine – I think I am getting a bit better at this wreath creation thing.

I am still okay doing the super simple versions of wreaths too!

I put together a new Print and Ponder to celebrate the season – there are so many cool Irish sayings to choose from – but I liked this one the best! It’s available for free on our website.

Happy Saint Patricks Day!
Sheila


Hello, I’m Mary. I just ‘met’ you from watching the NW Quilt Show from 2018 on YouTube. Remember that? The person who was filming the quilts was panning around (for 2 seconds) and I noticed your retail booth. Can you believe it? lol. Your items in your display caught my attention. I thought all the little animal faces looked adorable so I worked real hard to focus on your displayed name. And I’m so happy to have found you! I’m not sure yet but I think your name is Shelia. Well isn’t this a coincidence that I was wondering if you had anything related to St. Patrick’s Day. And then I read further and found that you have an especially fond connection with it and Ireland! How lovely! I’m not Irish, I’m Italian/German, but I love everything Irish. So it’s a pleasure to meet you Shelia. I hope you and your family are well. One time I went to a St. Patrick’s Day church service in a historical church in Milwaukee, Wisconsin. The church’s name was St. Patrick. It was the most beautiful, memorable service I’ve ever seen, complete with bag pipers! I hope you have gotten a chance to experience this yourself! Blessings,
Mary Krogmann