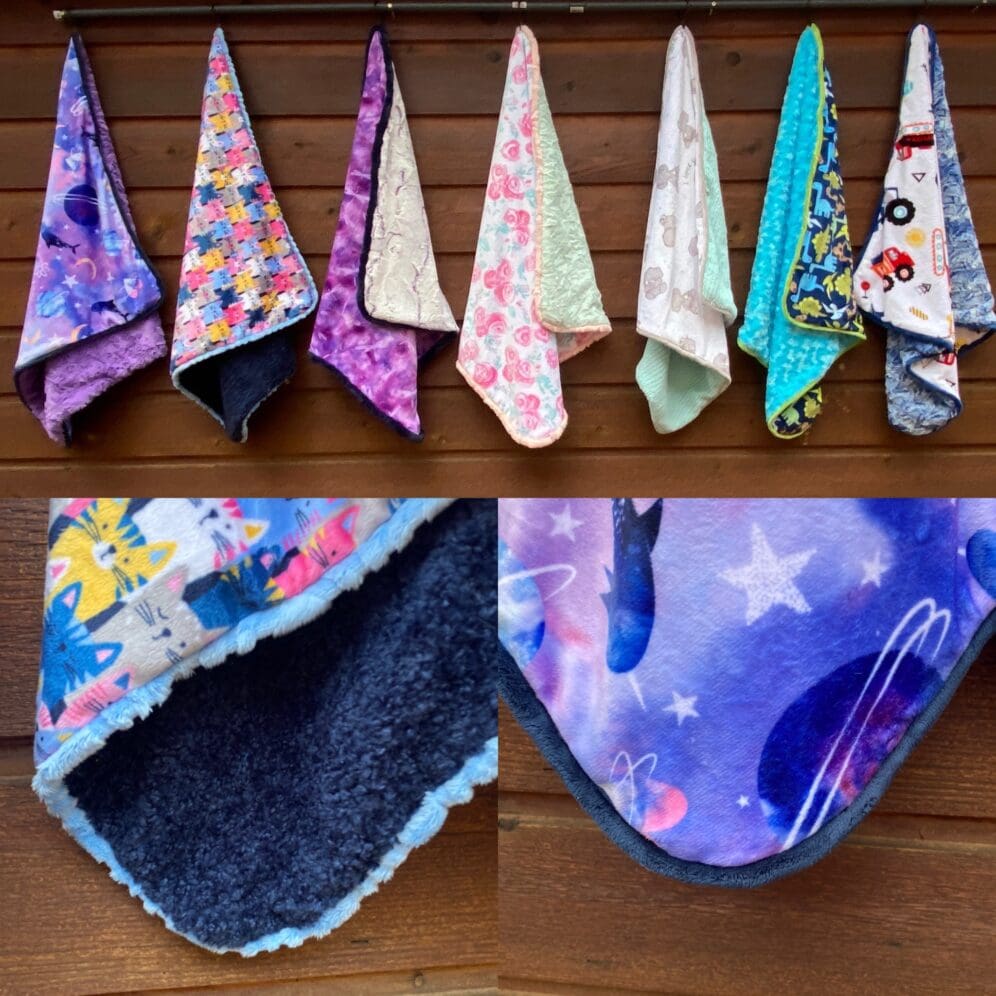
One of my favorite things to make and to give is incredibly soft warm blankets – and I LOVE using Shannon fabrics – it is so luxurious and soft! They make great gifts for everything from birthdays to Christmas, to graduations, and weddings!
I have three different methods that are all really easy!
Method #1. Wrap the back around to the front
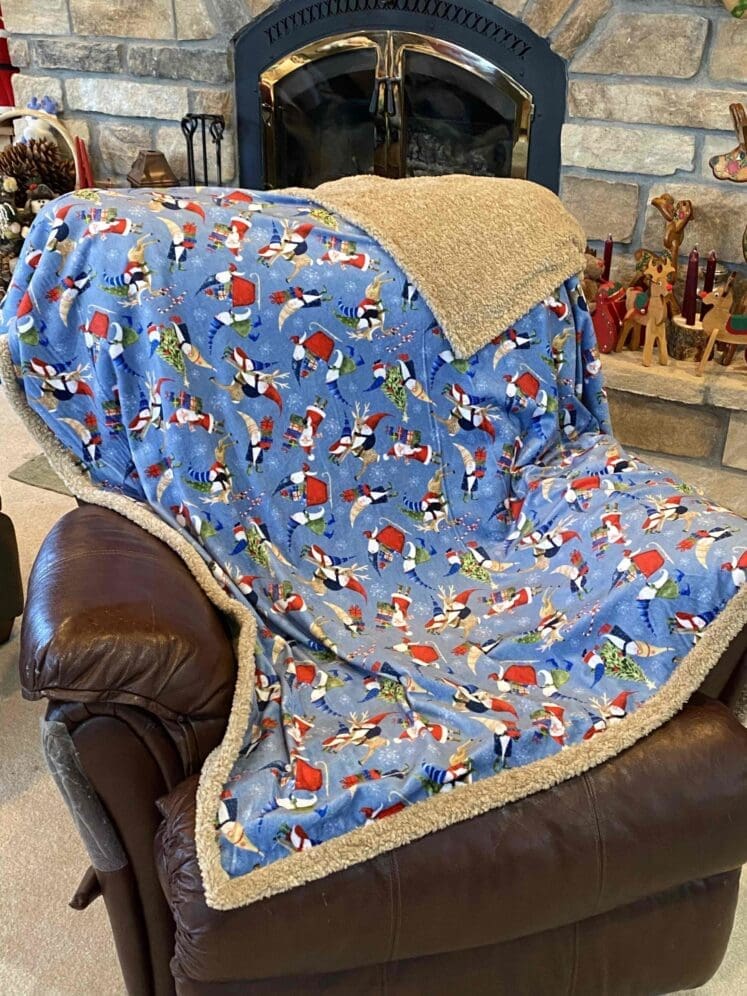
I just added kits to our website so you can make blankets of your own – click here to see the current options
Method #2. Perfect Piping
This is the technique that I use for baby blanket classes that I teach at Pinners Conferences.
For this one, you just need two fabrics that are exactly the same size – for baby blankets, I use two 30” x 30” pieces of coordinating cuddle fabrics. To make a square adult-size blanket – use two 60” x 60” pieces. To make a larger, rectangular blanket, use two pieces that are 72” tall x 60” wide.
After you make sure the pieces are exactly the same size, I use this really high-tech tool, called my dessert plate, to round all four corners of each piece. Just use a marker to draw the ‘arc’ on the corner, and cut it off with a pair of scissors.
Next, you need coordinating fabric to create the piping. The fabric needs to be 2” tall, and you need enough length to go around the perimeter of the blanket – for a baby blanket, this would be 120” (or two strips that are 2” tall and 60” wide). With the right sides together, sew the narrow ends of the strips together with a ½” seam. Place a piece of chunky yarn in the center of the wrong side of the piping strip, fold the strip in half, and sew close to, but not on, the strip of yarn.
Next, lay the raw edges of the piping strip against the raw edges of the outside of the blanket ‘top’ and sew it down – crossing the ends to the outside when they come together. With the right sides together, place the ‘other’ blanket piece on top of the one with the piping around the edge, match the corners and connect with clips.
Use more clips to hold the edges together, sew around the outside perimeter of the blanket, leaving a hole large enough to slip your hand in, and turn the blanket right side out. Then hand stitch or machine stitch the hole closed.
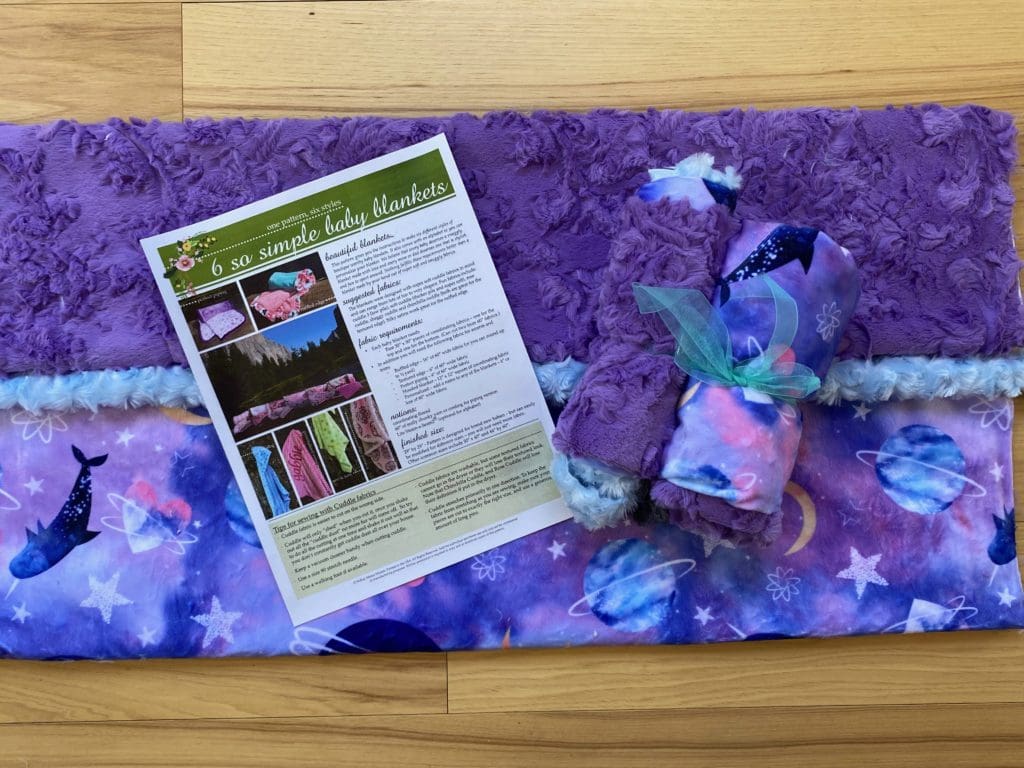
These ‘directions’ are really abbreviated. The Six So Simple baby blanket pattern has all the directions and illustrations for this version, and five other versions if you are interested in purchasing it, just click here.
There is also a YouTube video on the McKay Manor Musers Channel that walks you through all the steps – just click here to view it.
I also just added a bunch of new baby blanket kits using the new fabrics I just got from Shannon fabrics – I even have a couple of Christmas kits – This kit includes the 6 So Simple Baby Blanket pattern. Click here to see our current selection of kits.
Method #3. Textured Edge Blankets
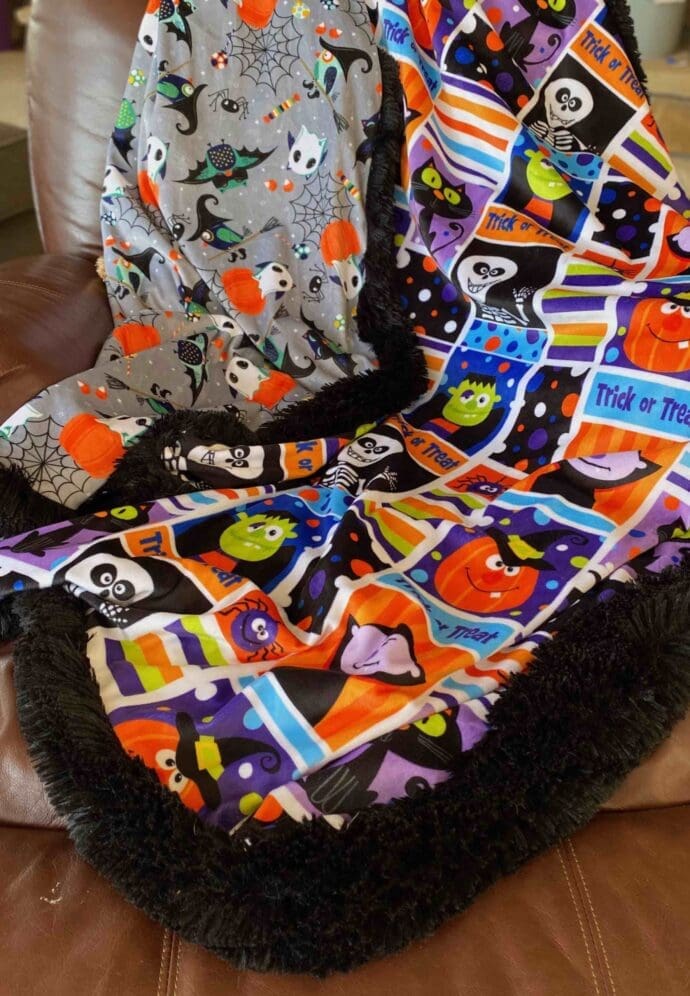
This is probably my favorite one, but it also is a bit more difficult. I really like using Shannon Shaggy cuddle. but only because the fabric is a bit trickier to cut and sew.
Sew the strips together and match the raw edges of one side of the blanket. With the right sides together, place the other side of the blanket on top of the one with the now shaggy edge, and match the raw edges of the other side of the shaggy edge to the raw edge of the blanket and sew around the edges, once again leaving a hole large enough to put your hand inside and turn the blanket right side out.
The full directions and illustrations are available in the Six So Simple Baby Blankets pattern. There is also a YouTube video out on the McKay Manor Musers channel to show you how to make this blanket as well, click here to view it.
I do have a couple of textured edge throws available on our website – click here to see the current kits. The good news is that I can create a custom kit for you out of fabrics that I have in stock – feel free to use the contact us form on the website to let me know what you would like.
In order to keep the shaggy edge of this blanket really pretty, I would suggest that you wash the blanket in cool water and use a high spin cycle to get out as much water as possible, then just hang the blanket to dry naturally. This will keep the shaggy cuddle looking brand new and fluffy!
Tips for Sewing with Soft Cuddle Fabrics
Cuddle (aka Minky) is one of my favorite fabric types on the planet – I use it somehow in almost all the projects that I do. I put together a sheet of tips and tricks to make it easier to sew with this sometimes very frustrating fabric. Over the past ten years of creating projects with cuddle fabrics, we have probably learned the hard way…. just a few tips and tricks to make it easier. Just click here to download a copy.
I hope you have fun making blankets for you or the people you love – they make GREAT gifts. I would LOVE to see pictures of what you create.

0 Comments