
We are certainly hoping that Spring is just around the corner – but we are still getting snow here in Woodland Park, CO – However, it is supposed to get up 64 degrees this weekend – that will feel really warm.
I have seen wreaths made from pine cones on Pinterest and always thought they were so pretty – I didn’t click on any of them because I wanted to try to figure out how to do it myself. Well – it was definitely a bit of trial and error on this one!
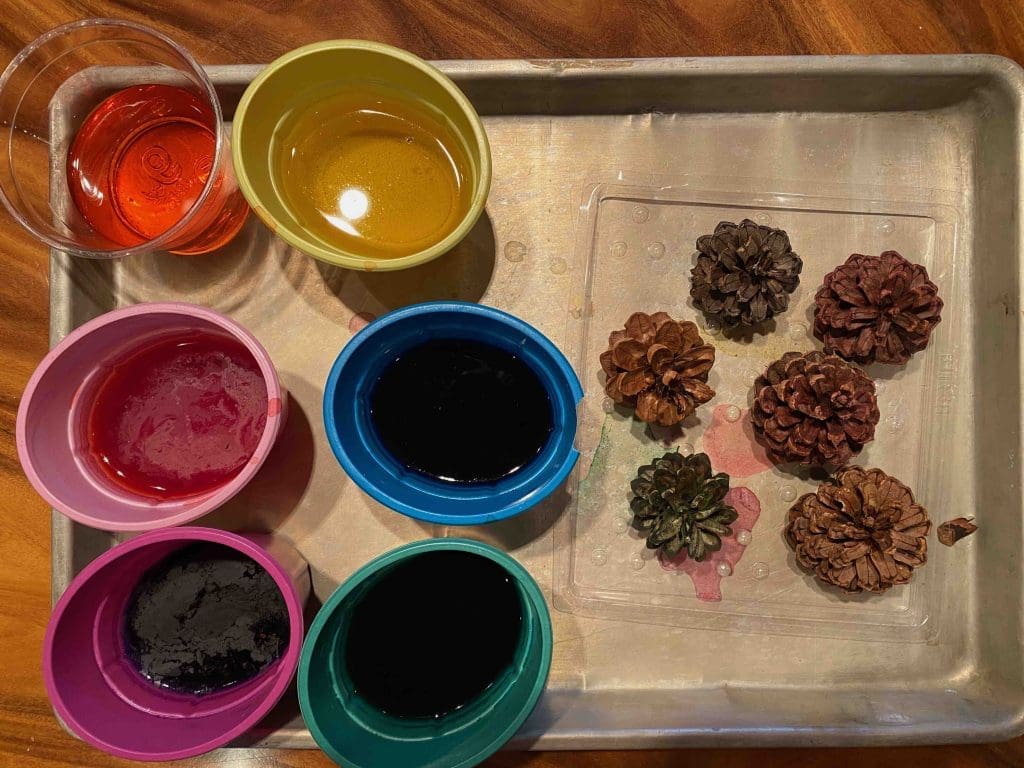
First – well – it’s close to Easter so I had some Easter Egg dye – and I thought maybe that would work – afterall – it dye’s egg shell’s so why wouldn’t it dye pine cones – they are both natural materials – right? Well I dropped one pretty pine cone in each of the dyes – and left them there for a while so the dyes could really get into the pine cone and make it colorful. I took them out of the dye and set them on the counter to dry. Bottom Line – big time FAIL! Not only did it NOT dye the pine cones – but the pine cones were open and really pretty when I put them in the dye and when I took them out they are closed tight as a drum.
Next – I decided to try paint – I had leftover sample cans of paint from my indecision in terms of picking paint colors and thought maybe that would work – but no – too thick and sticky.
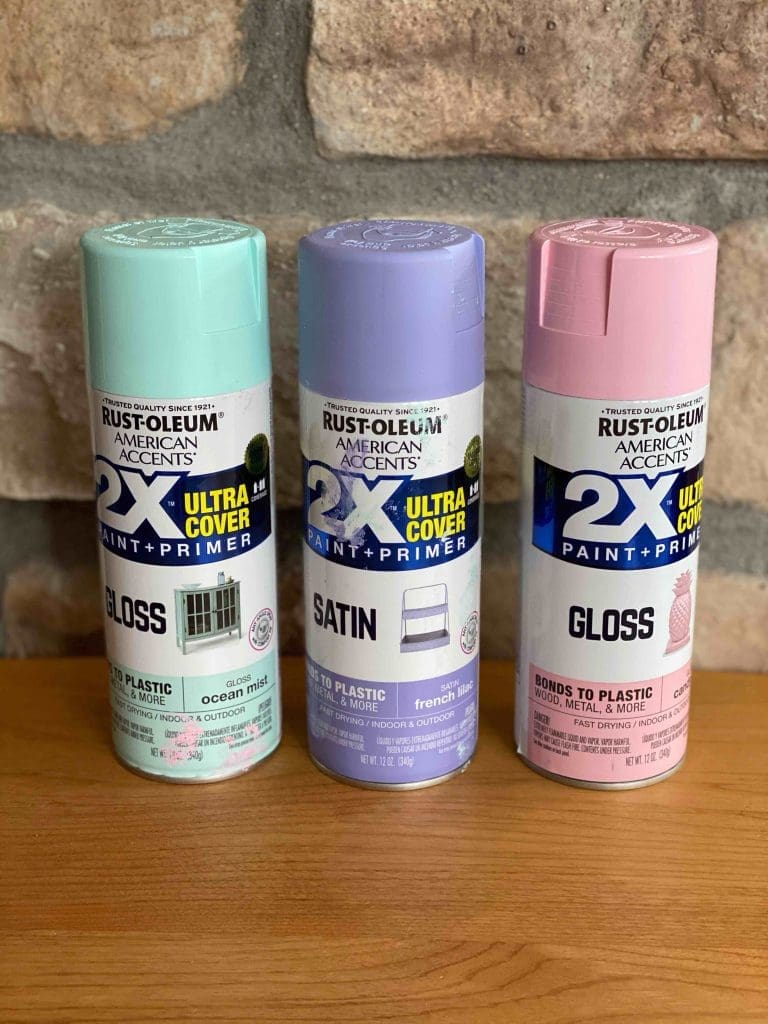
So – spray paint? – Yes – it worked GREAT! The Rust-Oleum 2X ultra cover with primer in it seemed to work really well – I took all of them outside and painted them. Make sure and wear rubber gloves so you can flip them over to get both the top and the bottom and the sides of the pine cones.
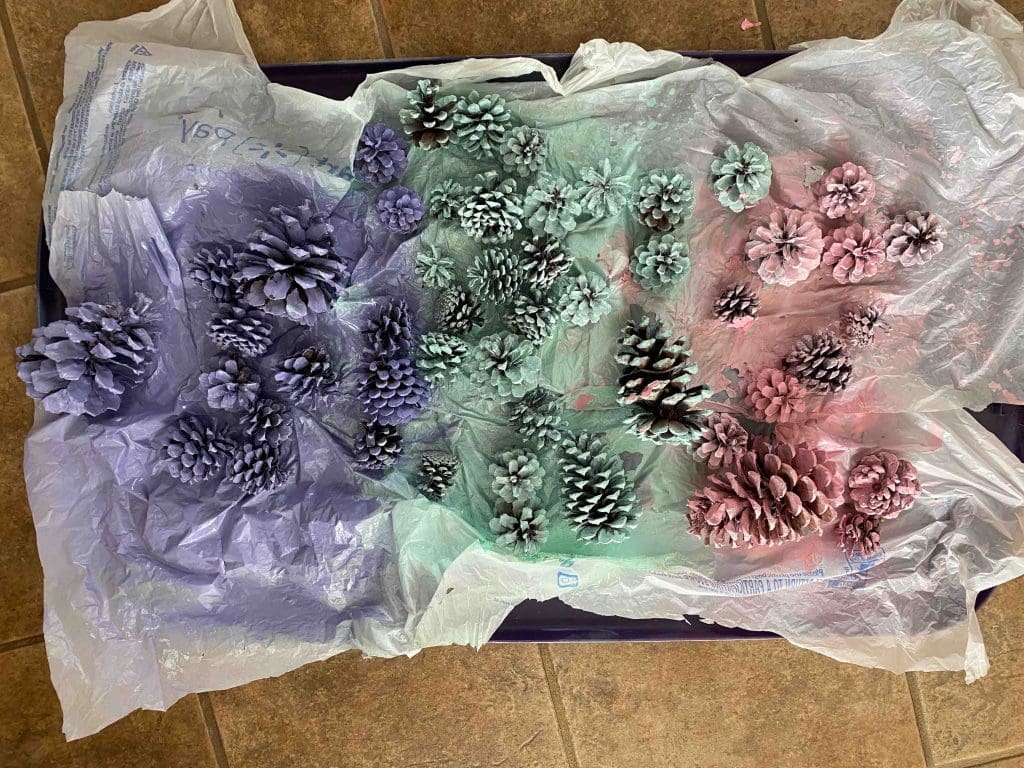
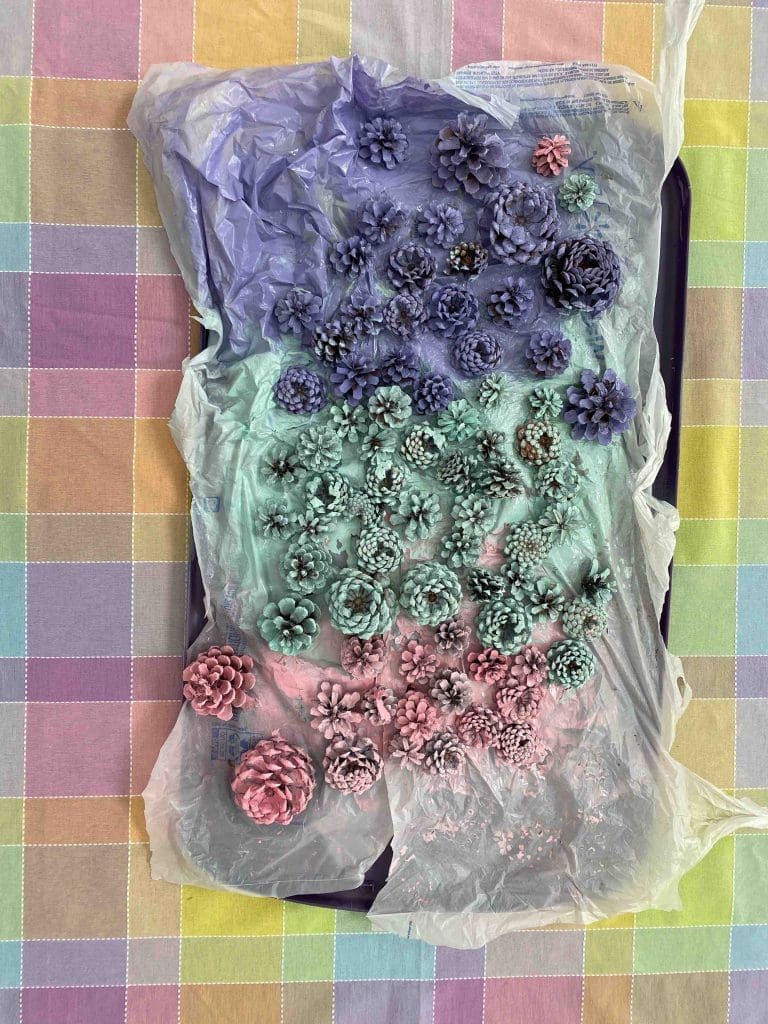
Now that I had them painted three of my favorite colors – pink, purple and teal – I needed to figure out how to cut them in half. I wanted to use the top and the bottom of the pine cones separately in the wreath. We tried kitchen shears – nope – that didn’t work. Next I tried pruning shears – nope – that didn’t work and then I thought – my hubby is a woodworker – why not use the band saw? That worked GREAT to cut them in half. If you have a scroll saw my guess is that would work great at well.
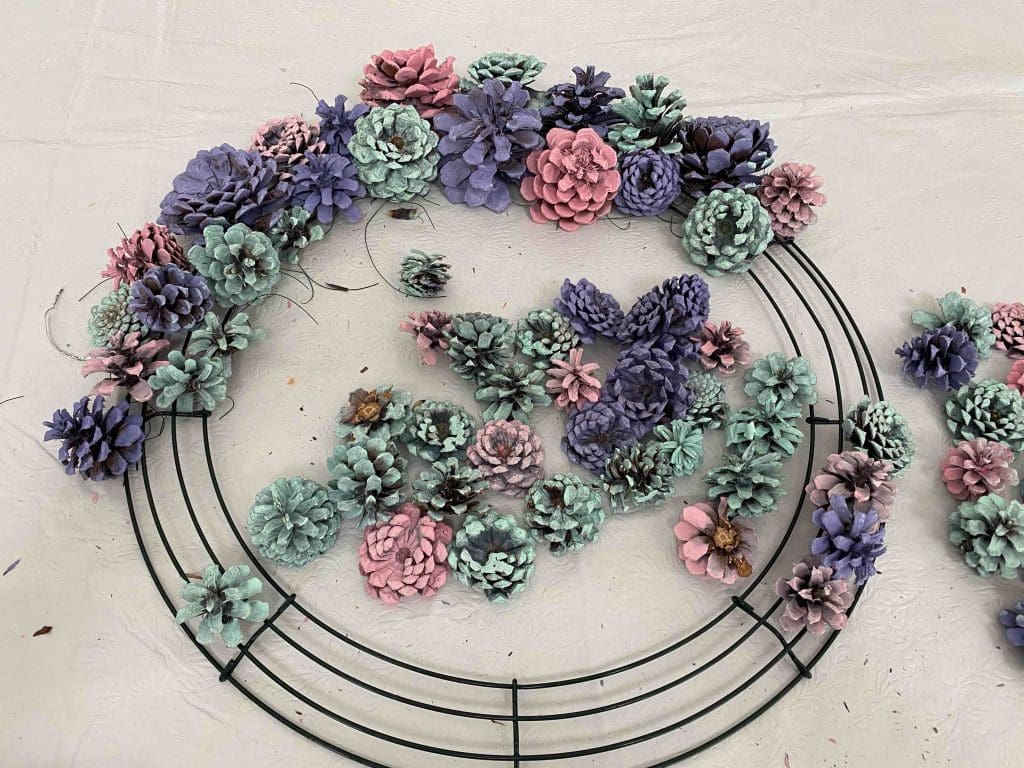
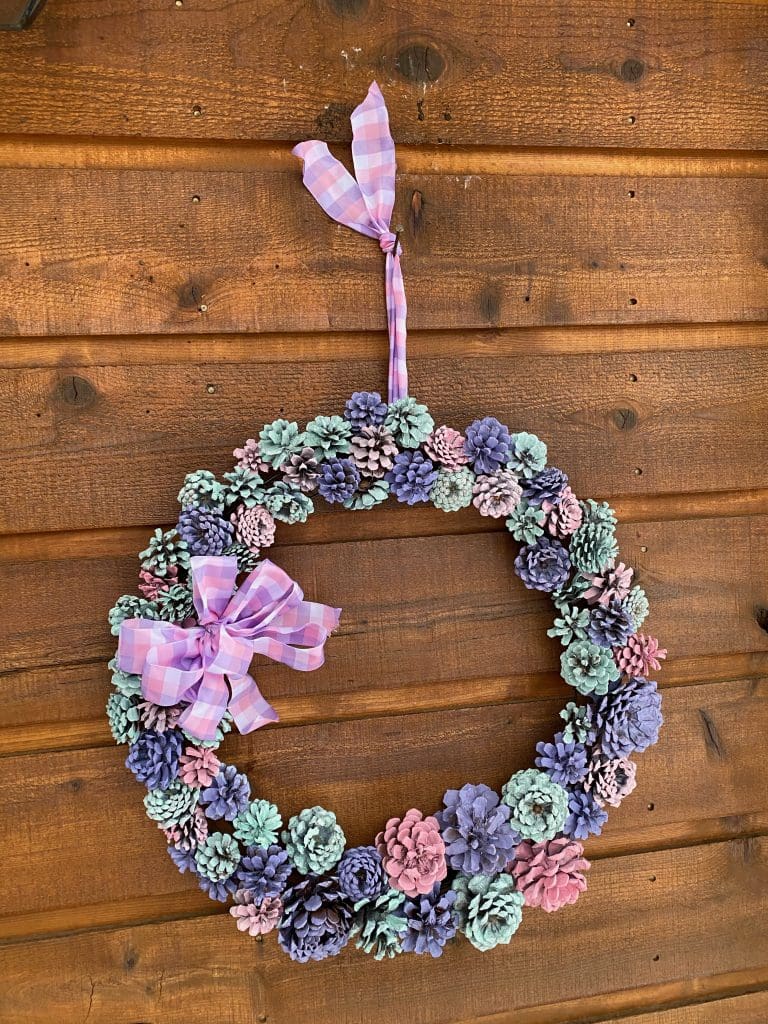
My next step was to try to place them on the wreath to make sure I had enough to fill it. Kira taught me to create a ‘focal point’ on the wreath – so I picked all of my larger ‘half’ pine cones and placed them together on the wreath. Then I filled the rest of the pine cones in around them – and – good deal – I had enough to fill the wreath. Make sure you mix up the top half of the pine cones with the bottom half of the pinecones. The bad news is that they were not attached to the wire wreath so I had to pull them all off so I could start to attach them.
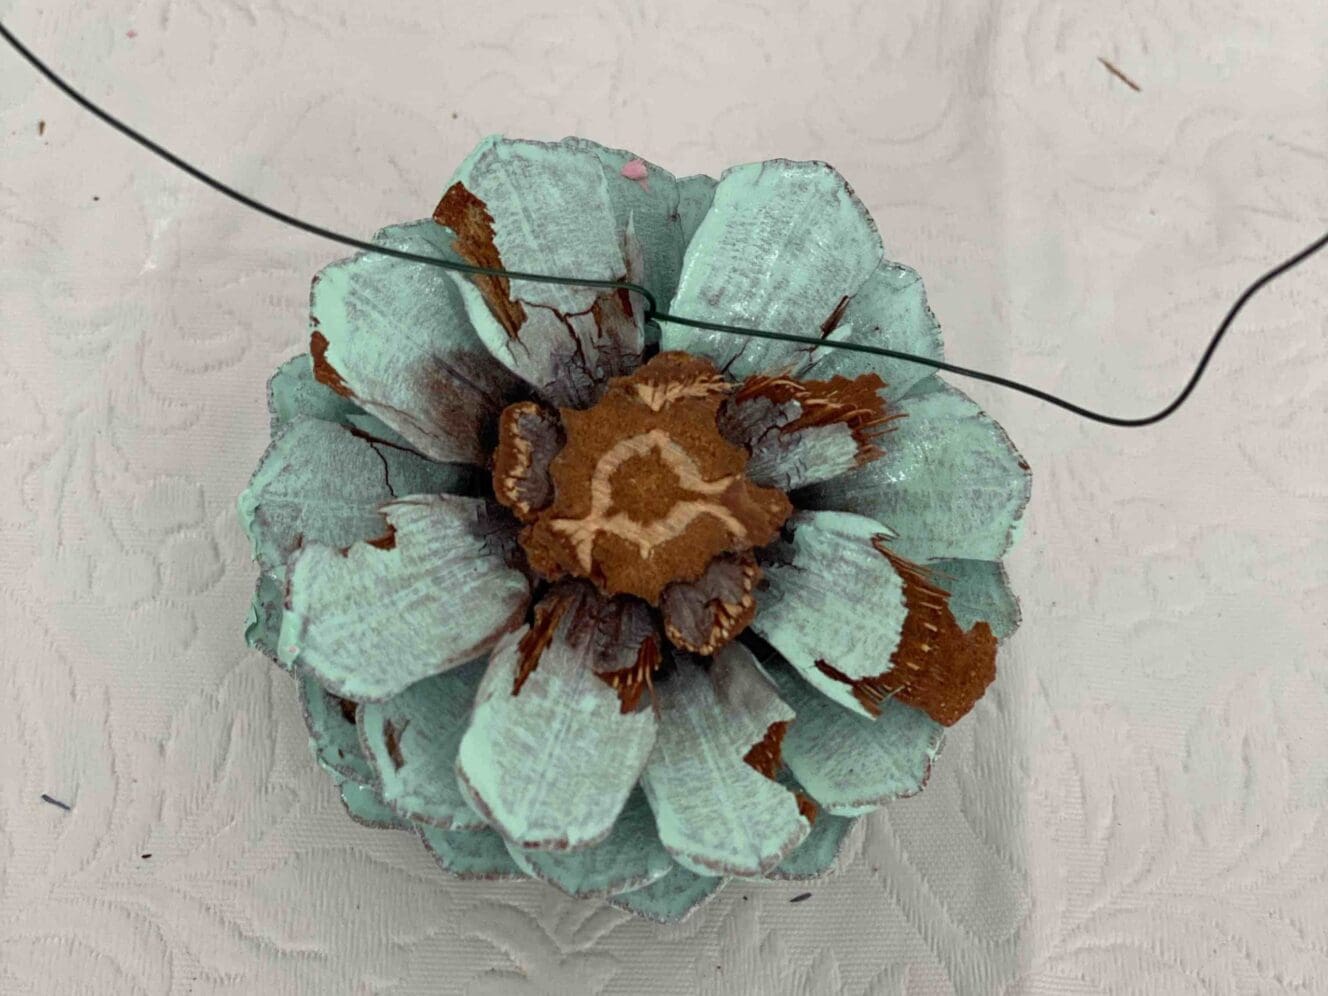
I used green floral wire to attach them to the wire wreath that I had purchase at Walmart. I cut a piece of wire about 6 inches long and wrapped it around the back of the pine cone and twisted it once.
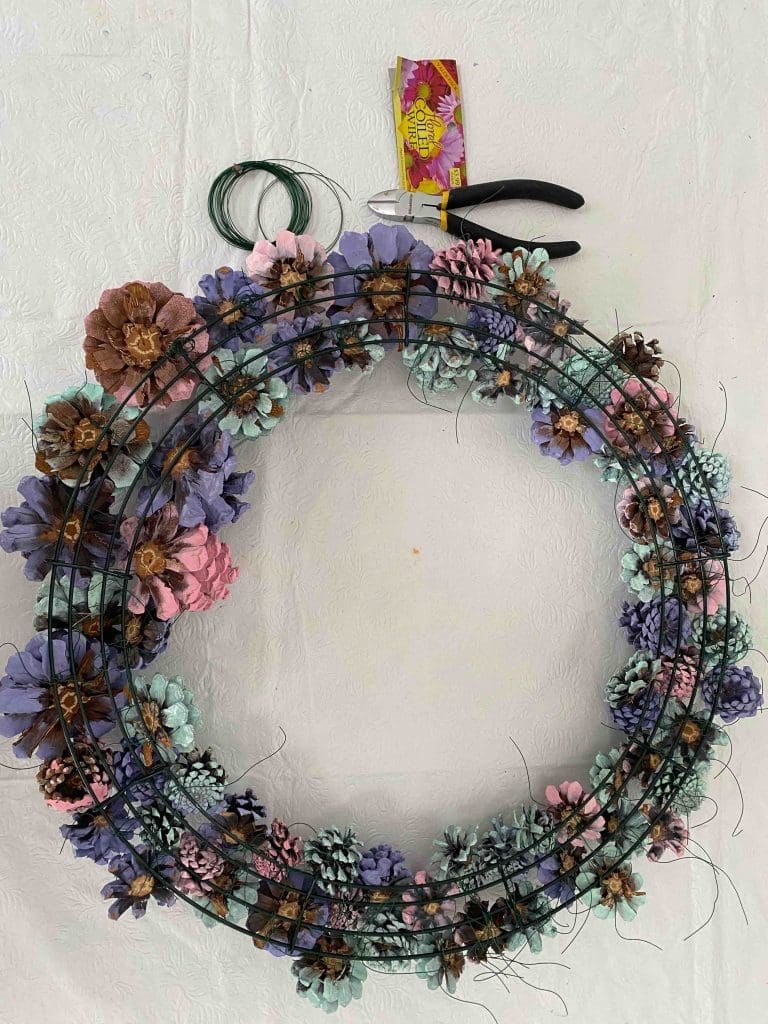
I placed the pine cone on the right side of the wreath and pushed the wires through to the back and twisted them loosely once. I continued doing this until I had filled up the wire wreath with pine cones.
I turned the wreath over to make sure they were all in a position that I ‘liked’, then when they were, I twisted and tightened the wire to keep the pine cones attached to the wire wreath. I also wrapped up the extra wire so it wasn’t poking out like a crazy hair day.
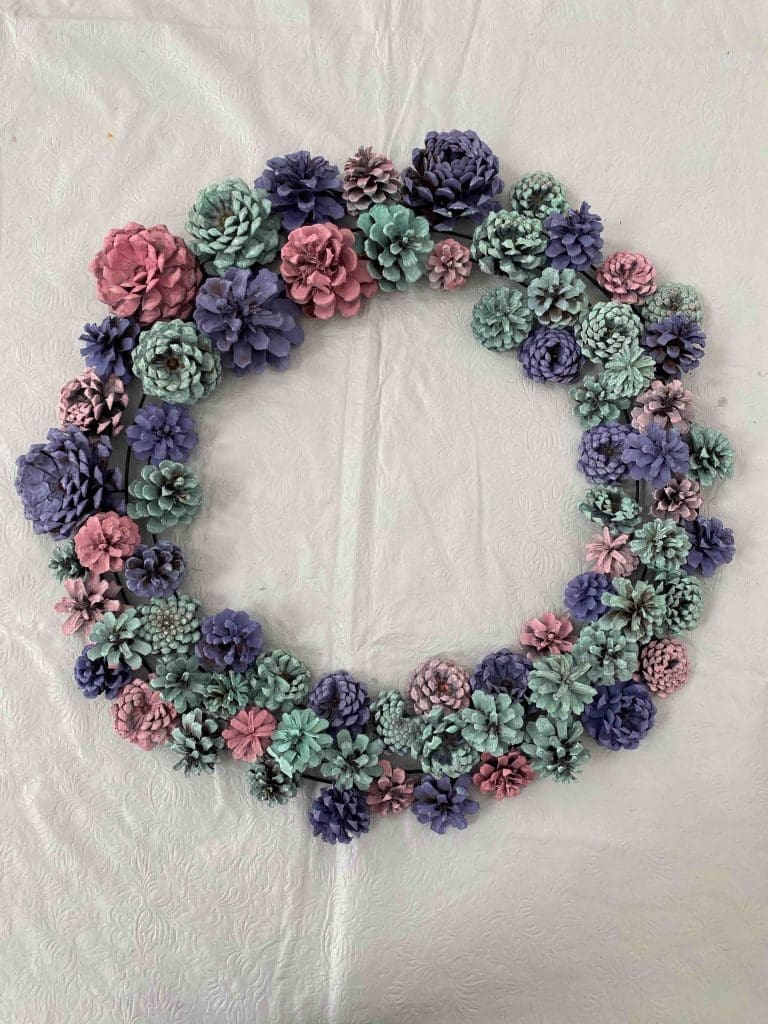
I added small dots of puff paint to the center of the ‘flower’ pinecones (the bottom half). I used silver glitter puff paint on the pink pine cones, and gold glitter puff paint on the teal pine cones and pearl yellow puff paint on the purple pine cones. I added a fun spring ribbon bow – and ta da! A spring pine cone wreath – it worked!
As I pulled out the rest of my Easter decorations for this weekend, it brought back fun memories of painting wood projects!
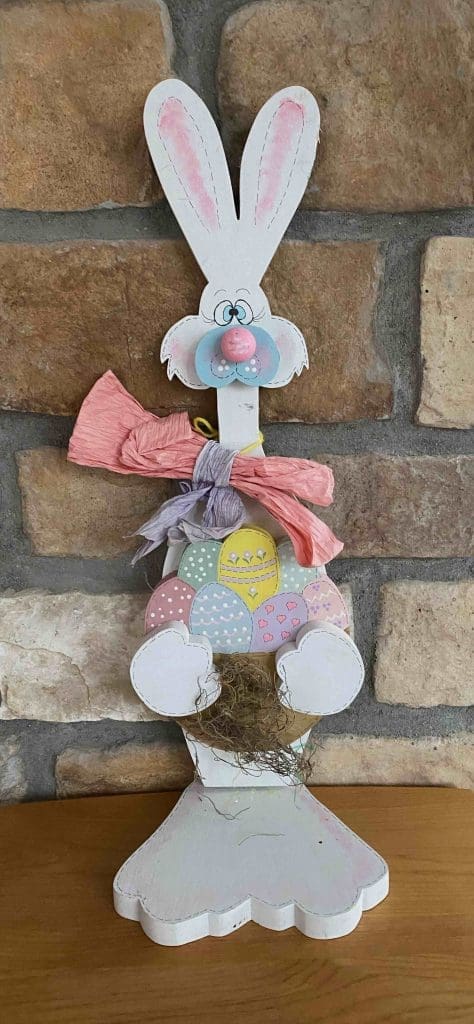
Check out this tall bunny!
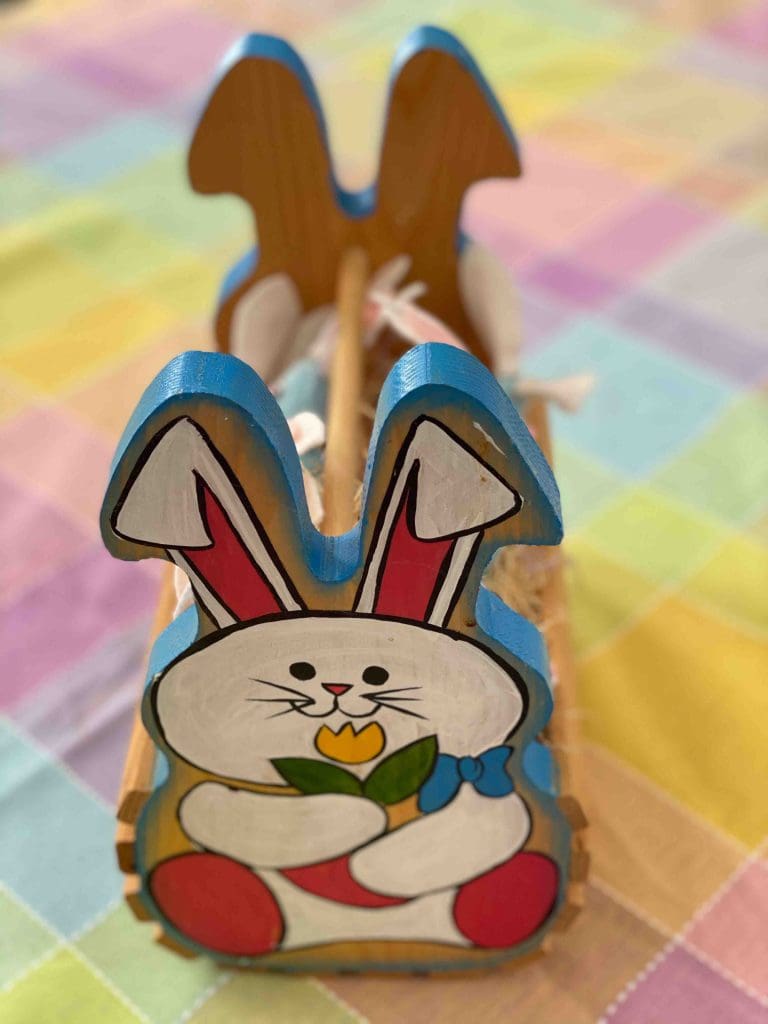
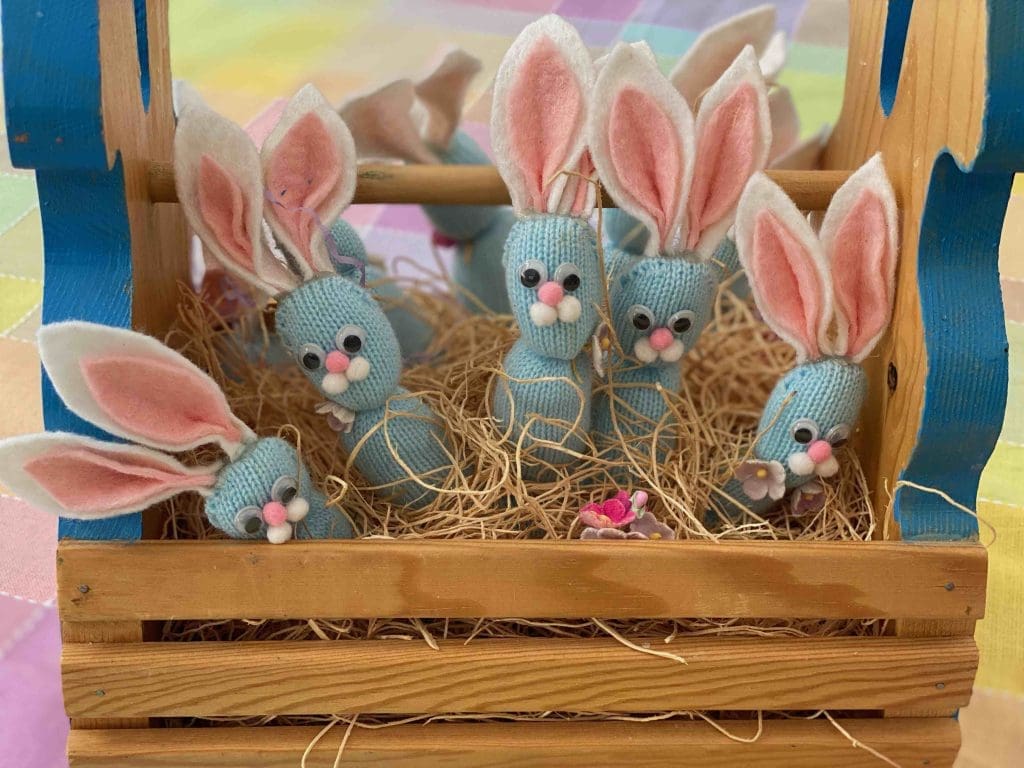
Where I had used a pair of blue knit gloves to fill it with little bunnies.
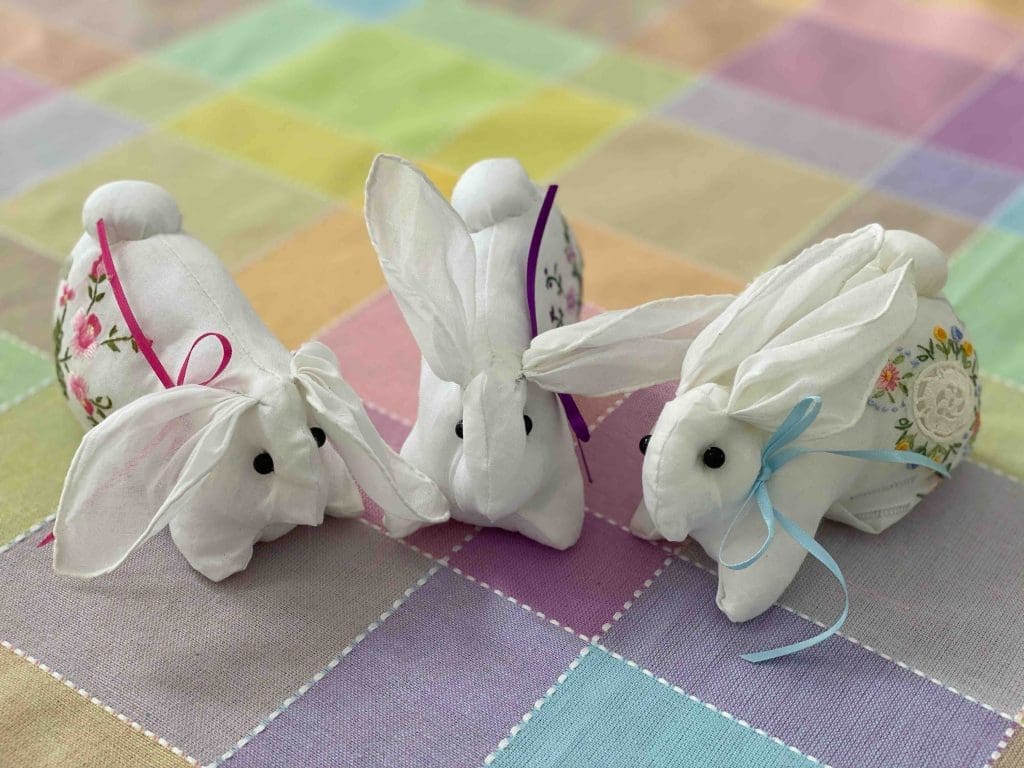
When my mother passed away she had a drawer of dainty handkerchiefs and I wondered what I could do with them – they seemed so special. I found directions to turn them into little bunnies – and now they make a great memento!
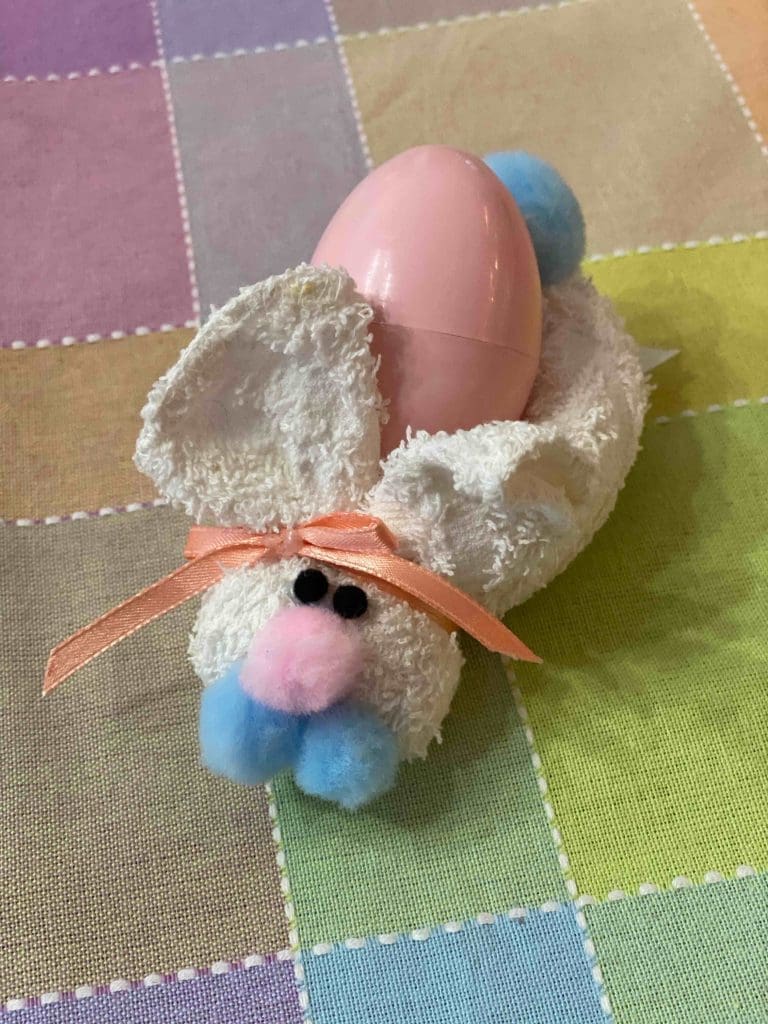
We made bunnies that old easter eggs out of washcloths. The good news is there are LOTS of tutorials out on Pinterest to make these – just type in Easter Bunnies from Washcloths.
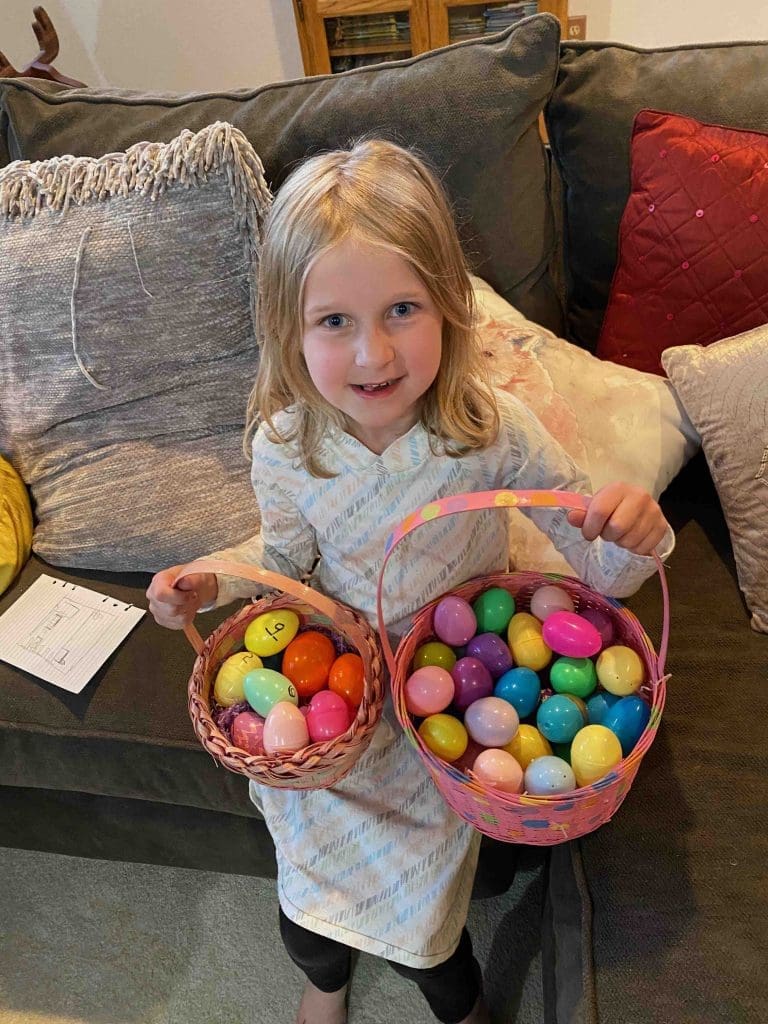
And last – I had a really fun easter egg activity for the family. You have 12 plastic easter eggs and you put a note with a scripture and a symbol inside each of them and number them on the outside. Many of my papers were missing – so Rozzie helped me put it all back together again to use with her family. I found a copy of the scriptures we used on Pinterest – just click here to go to the project.
Happy Easter!


0 Comments