Is it chilly where you live?
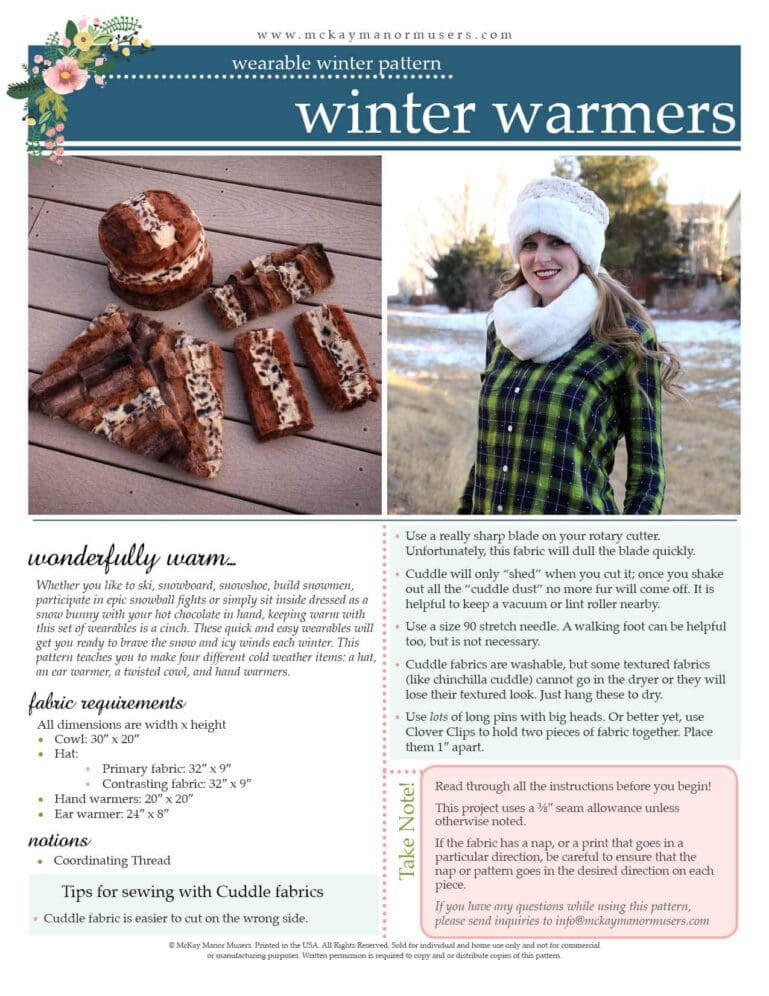
It’s around 20 degrees outside right now. When I go for a walk, it’s my fingers and my ears that get coldest the quickest! So the perfect solution is to grab a hat or ear warmers. Both of them can be found in our winter warmers pattern – it also has a neck warmer (twisted cowl) and wrist warmers – which I sometimes wear in the house. You can find video tutorials for all four of the pieces out on the McKay Manor Musers YouTube Channel
Ready to make ear warmers?
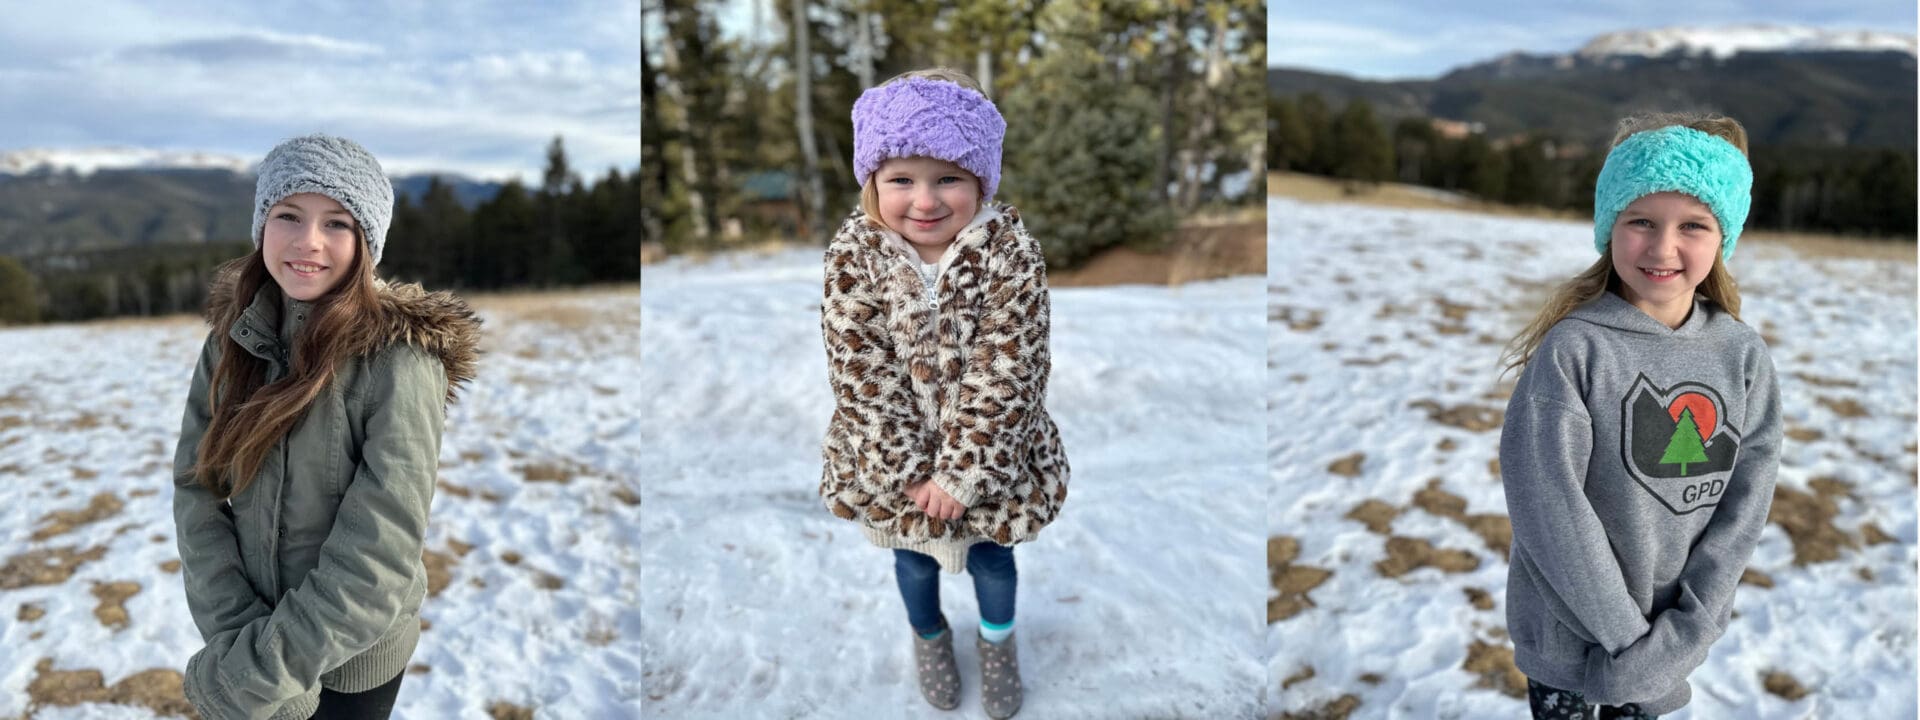
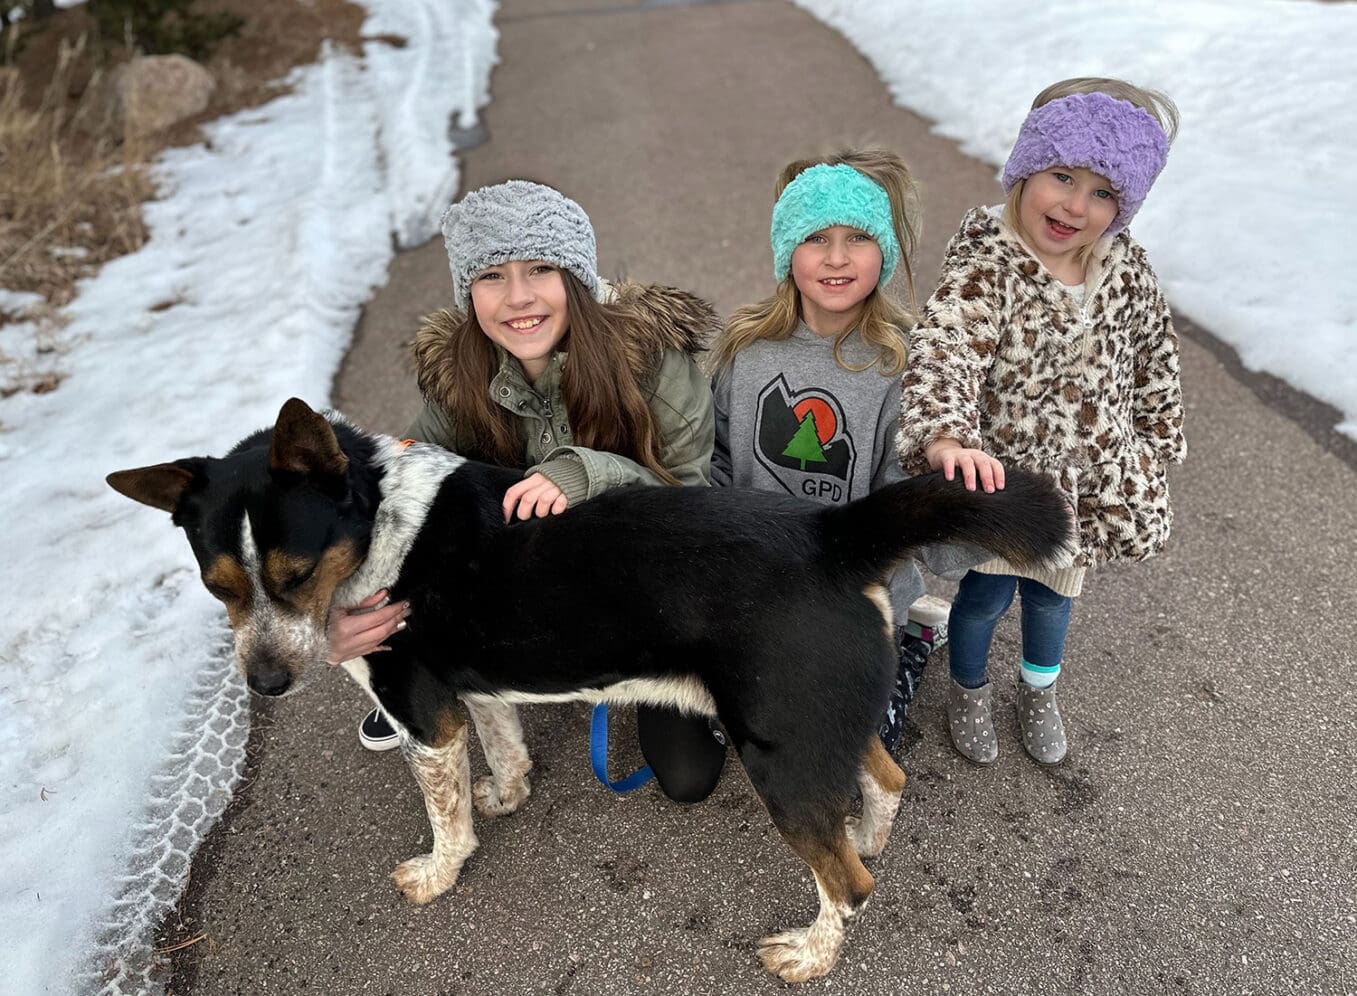
My granddaughters were at my house this past weekend, and we made ear warmers before we to a dog from our local shelter on a ‘doggy day out’.
Here are the steps:
- Measure the circumference of the head that will be wearing the ear warmers. For reference, my granddaughters (age 3 and 6) head measures 19” and my older granddaughters (age 9 and 12) measure 20” and my head measures 22”
- Add 2″ to the measurement in step 1.
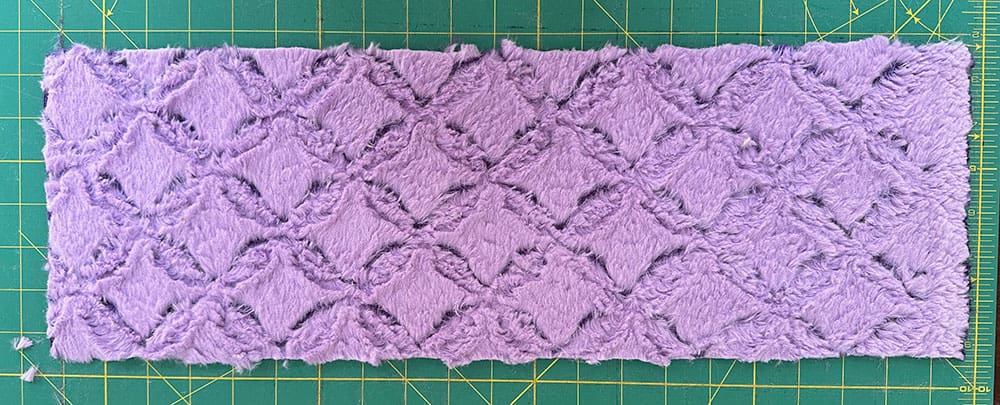
- Determine the size you want to cut the ear warmer. Plan to cut the cuddle fabric going across the grain – you want the length of the ear warmer to be stretchy. Depending on how wide you want the ear warmer to be – the height can be 7” or 8” For an adult size, I cut it 24” wide by 8” tall, and for a kiddo, I cut it 21” wide and 7” tall.
4. With right sides together, fold the rectangle in half lengthwise, clip or pin the raw edges together, and sew with a 1/2″ seam.
5. Turn the rectangle right side out.
6. Fold the ‘ear warmer’ in half (or more of a circle) and tuck one end inside the other end. Make sure the ends overlap by one inch (i.e. one end slides 1” inside the other open end). Pin in place.
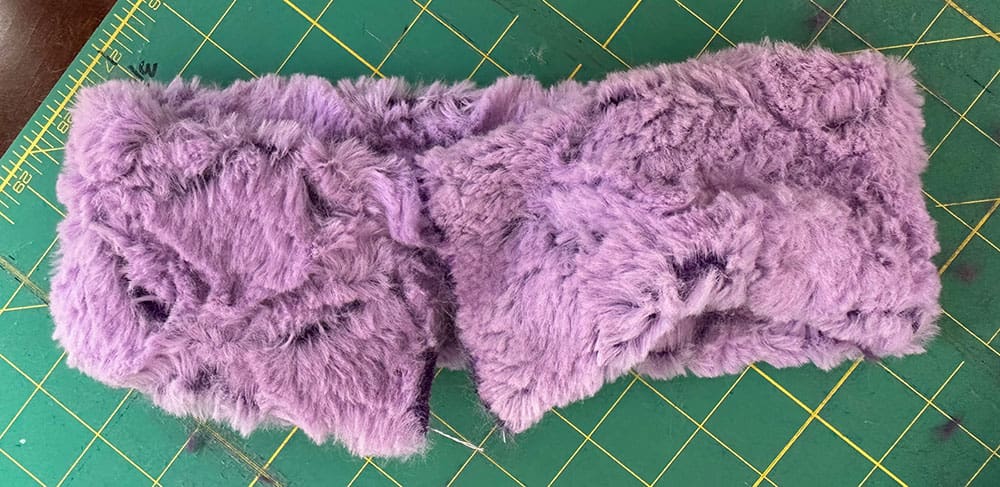
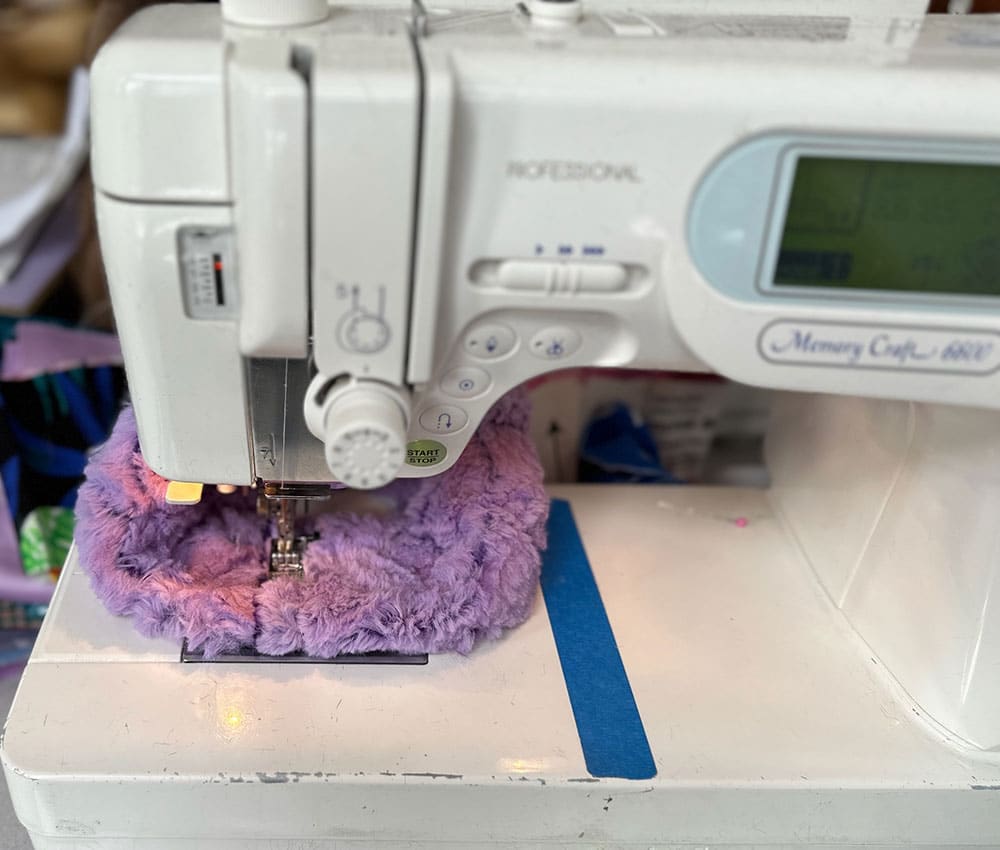
7. Sew across the short edge of the ear warmer where the ends overlap. I typically sew all the way across from the top to the bottom then pivot and stitch along the edge for about ¼” and then sew straight back down to the side where you started, pivot and go back to where you started – rectangle.
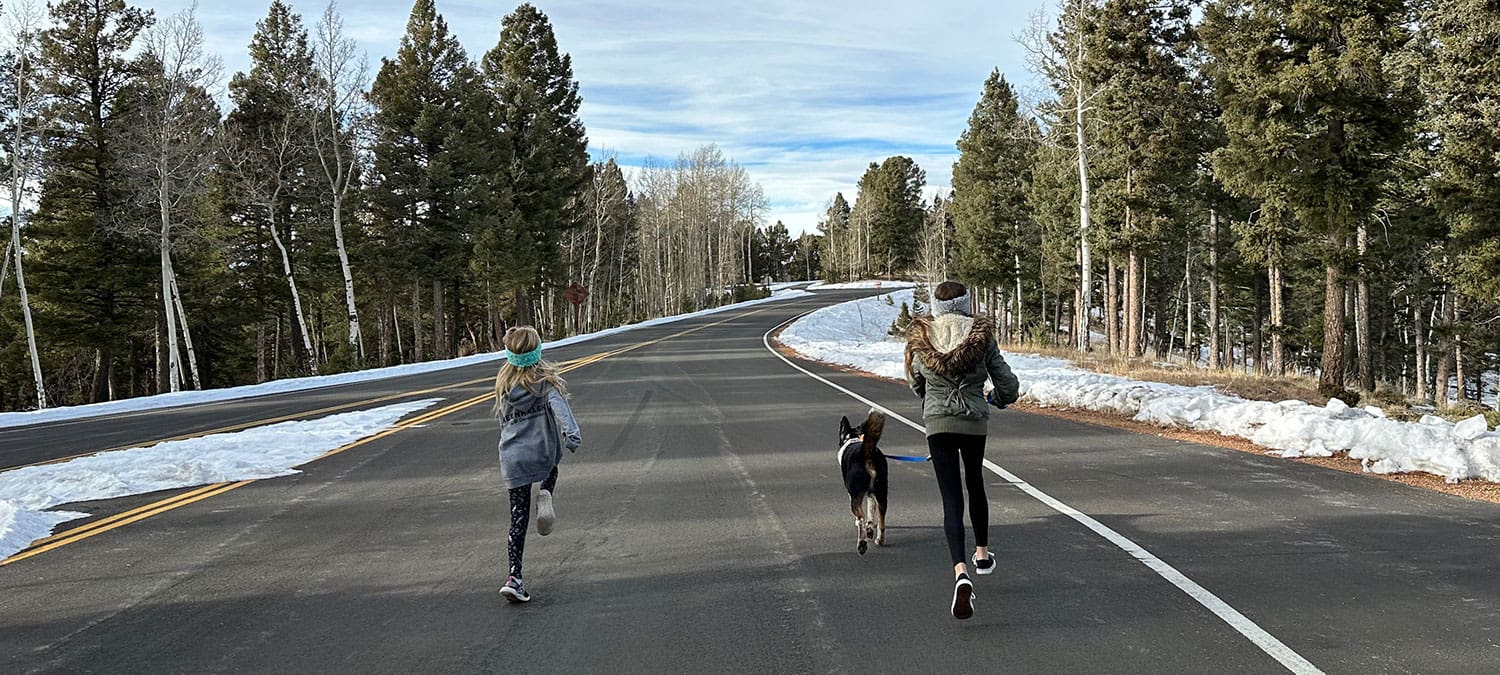
8. Try it on, enjoy your walk, and stay warm. Or if you are like my granddaughters – go for a run to try to keep up with the shelter puppy!
Happy Sewing


0 Comments