
Looking for a mat to place in front of a bed? Or a mat in your kitchen? Or a playmat in a room? Or, a picnic in the park? Or …. my favorite, a mat for a nap? (that could be you or the kids!)
Look no further! Just put together one of these easy mats.
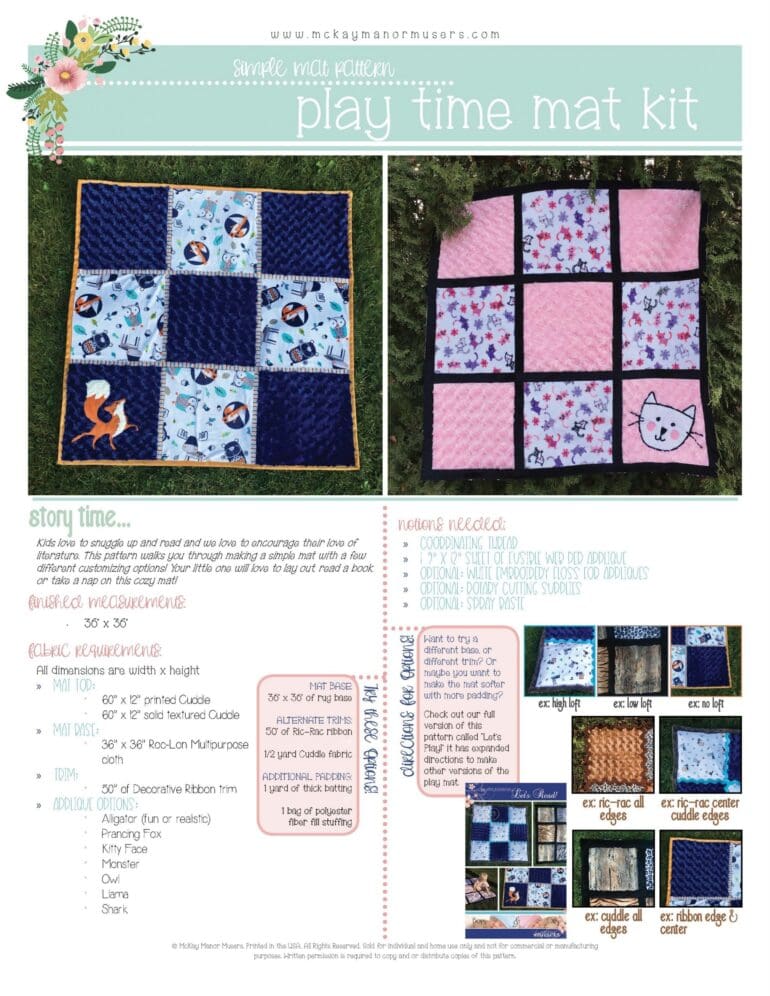
All you need is nine 12” x 12” pieces of coordinating cuddle fabric, a 36” x 36” backing (we used Roclon Multi-Cloth – but you can use a tarp, or canvas, or even a piece of an old tent), and you need something ‘decorative’ to put around the border and to create the lines between the blocks.
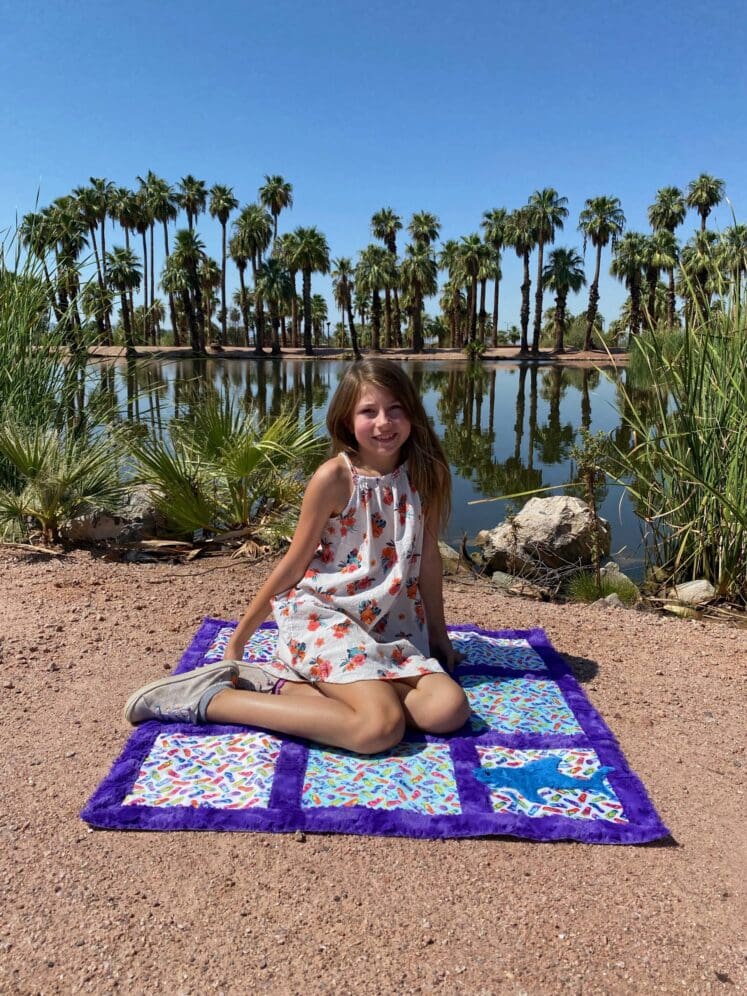
I just finished making a new mat that I took to Phoenix with me and all my granddaughters. Here’s a picture of Gabriella soaking (or baking) in the sun. Can’t believe how hot is there even in September.
Here’s a quick overview of how easy they are to put together.
-
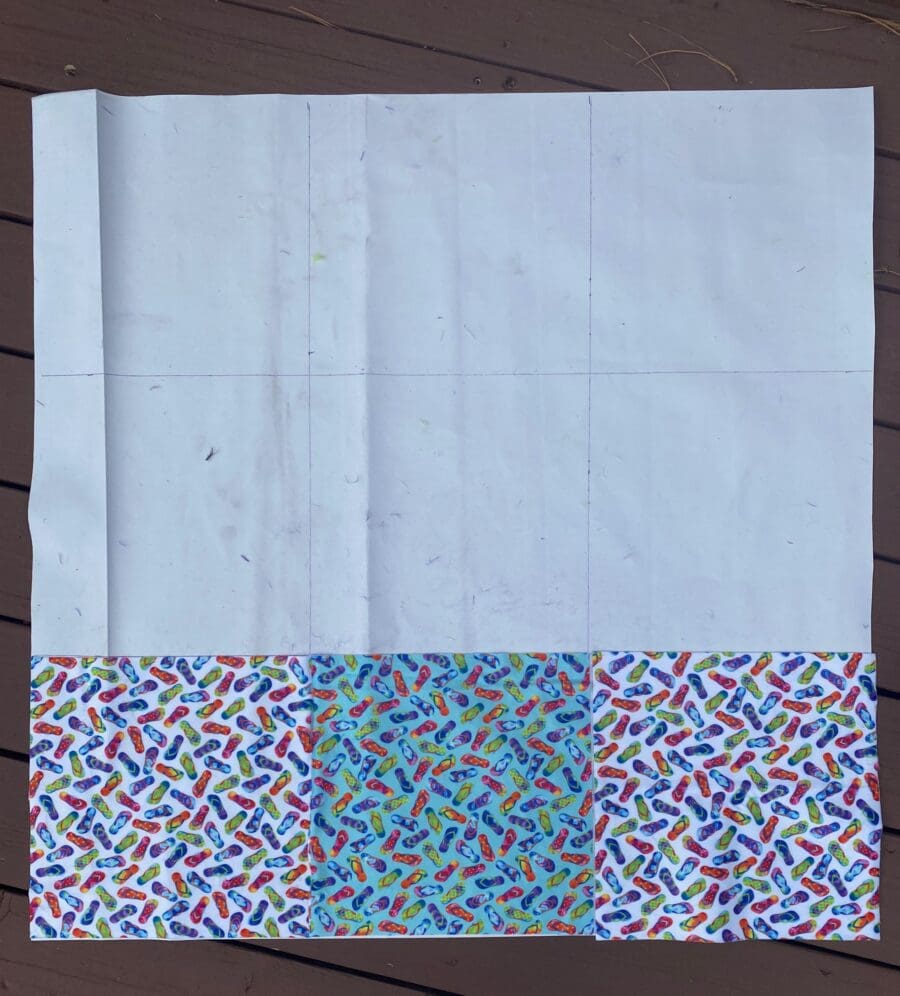
1. Draw a tic tac toe grid on your backing – creating nine squares for the cuddle blocks.
-
2. Pick three of the cuddle squares and place them in the bottom row.
-
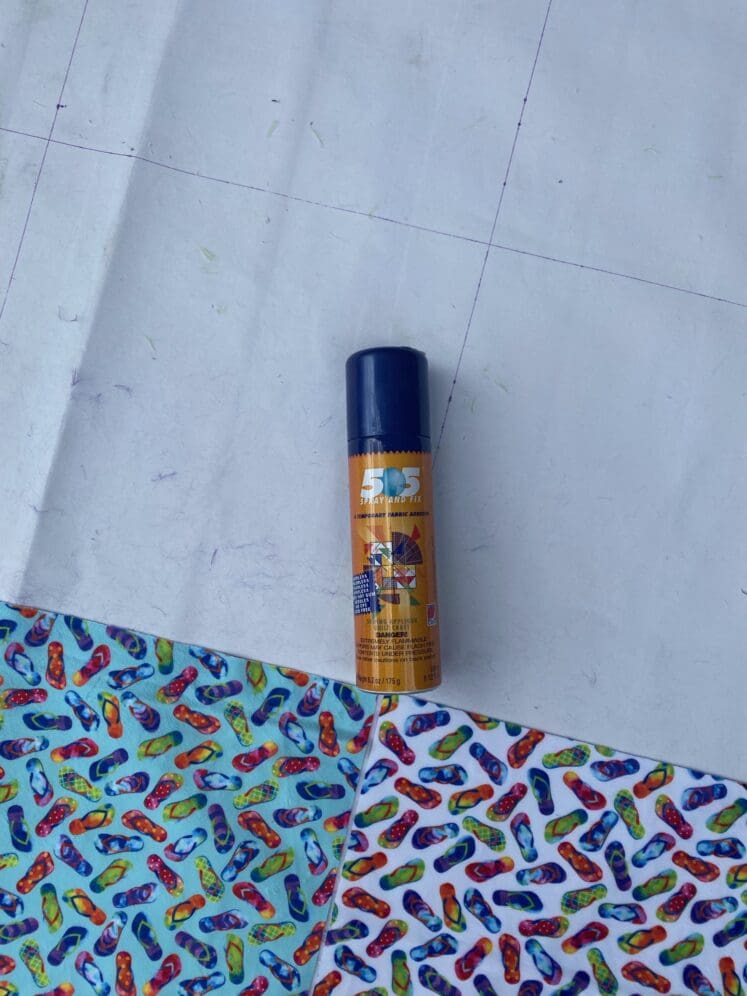
I like to use a spray adhesive to keep them in place as I sew them down. I happened to use 505 Spray and Fix Temporary Fabric Adhesive this time – but I have used multiple brands – just make sure it has the word ‘temporary’ on the label. I typically spray the canvas (or mult-purpose cloth) and then place the cuddle square in the appropriate box on the tic tac toe board and make sure it is really flat.
-
I use a zig zag stitch to attach the cuddle square to the backing.
-
Keep spraying and placing and sewing the blocks until you have filled in the grid.
-
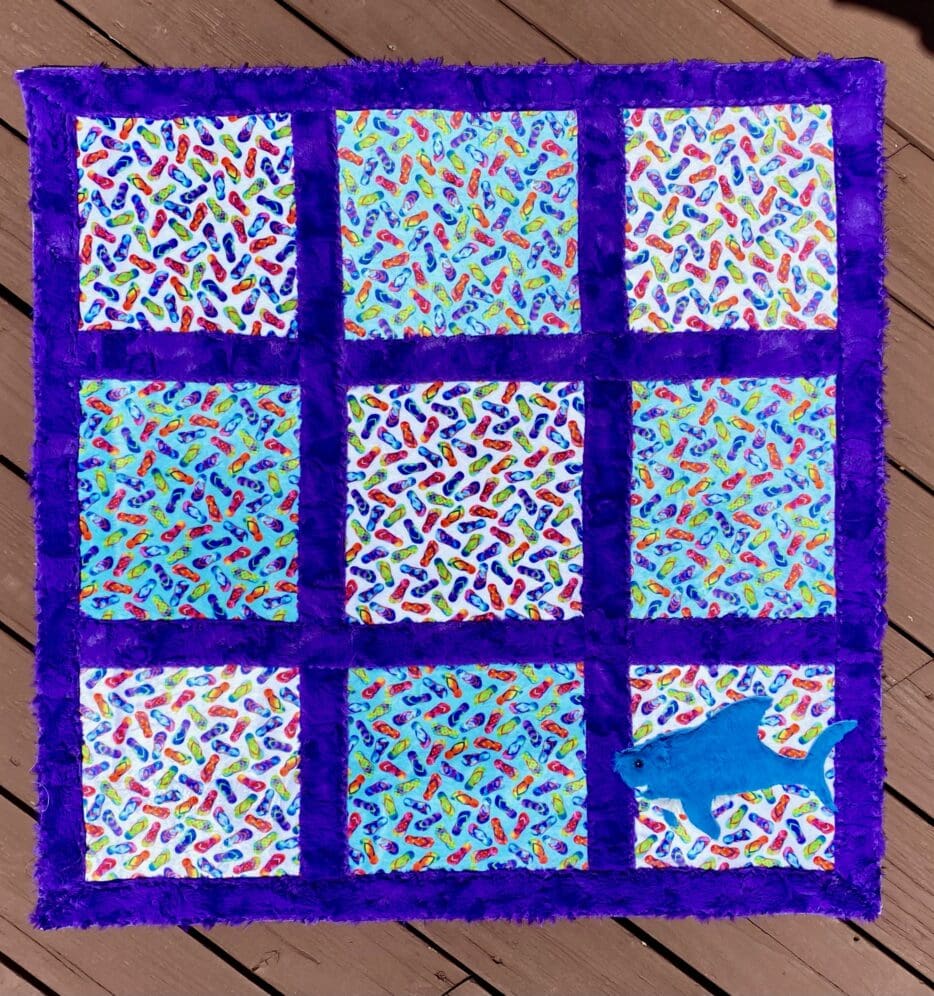
Now for the fun part – the border and the lines. You can get really creative – For this one I used 2” strips of cuddle fabric and I just used spray adhesive on the backs of the strips to temporarily hold them in place and then I zigzagged them down on both sides of the strip.
-
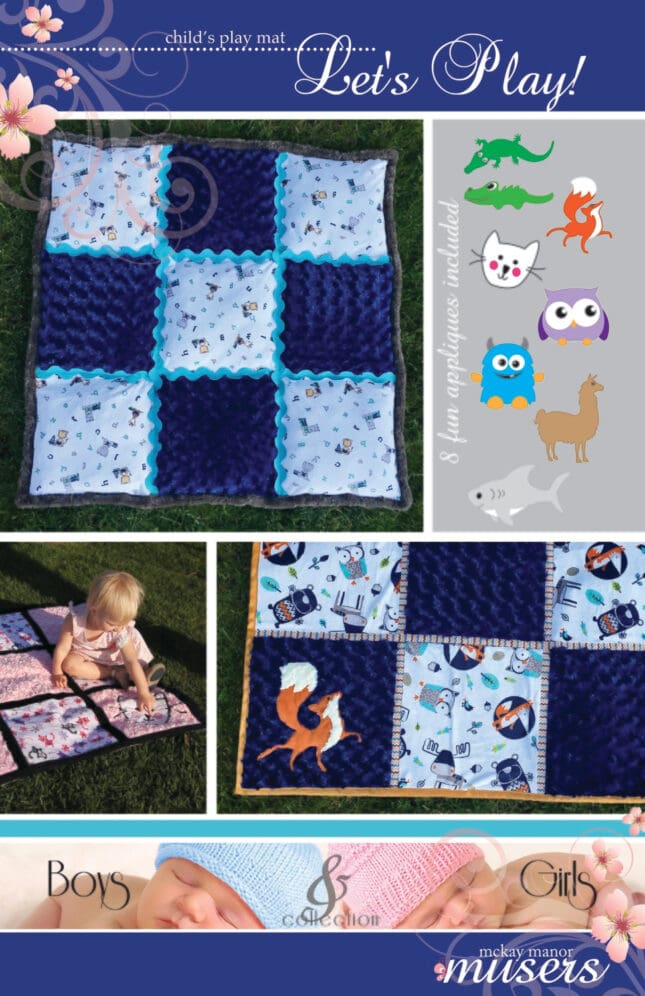
I have also used ribbons like you see on my fox in the bottom right corner of the pattern cover – This mat is now in my little grandson’s room.
-
I have also used wide rick-rack – it’s fun because it easily covers the gap between the cuddle blocks.
-
Last step is to add a fun applique to the corner. Kira created seven fun appiques for this pattern – the fox and the shark that you saw above – and a llama, a crocodile, an alligator, a monster and a kitty.
-
You can click here or on the pattern cover above to go to the printed version of the pattern on our website
-
If you’d like a downloadable version of the pattern, just click here or on the pattern cover below.
-
I wanted to use my new mat at the beach – so I made it with flipflops and sharks – but you could make a mat to watch the 4th of July fireworks – just click here – or a new mat for Thanksgiving – using our new smaller templates – just click here. You can also make the mat any size your shape you’d like. Check out the one in the picture of Rozzie on the long lion mat at the top of the post. I used the sew and flip method on a diagonal one for that one – you can find that pattern by clicking here.
Would love to see pictures of any mats that you create – just send them to sheila@mckaymanormsers.com or text them to me at 360-907-0758.
I’ll share a funny (and a bit depressing) story before I sign off today.
I went to Tennessee a couple weeks with my two sisters – and we went to Dollywood for a day (a place I would highly recommend). 
My older sister and I were standing in line for the mystery mine ride, when a young man asks me, ‘Aren’t you too old to be riding this ride?’ Bear in mind this is a roller coaster that takes you STRAIGHT up and then STRAIGHT down and then upside down at ridiculously fast speeds.
I responded … “I don’t think so.”
To which he responds, “How old ARE you?”
To which I responded, “I am ‘only’ 63”.
To which he responds, “You look over 70 …. Because you have so many wrinkles.”
Seriously???? Why do kids need to be so honest?
I could have let that hurt my fragile feelings – and his poor mother was mortified at this point – but I took it in stride because I have earned every one of those lovely wrinkles – and I don’t let them stop me from having fun. In fact – it helped me choose my print and ponder quote for this blog. It’s from C.S. Lewis.

You can download this ‘print and ponder’ for free by clicking here.
One of my goals is to summit a new mountain every year – and this year it was Mt Baker in Washington State. It was a lot of work to get to the top – but the view was so worth it.
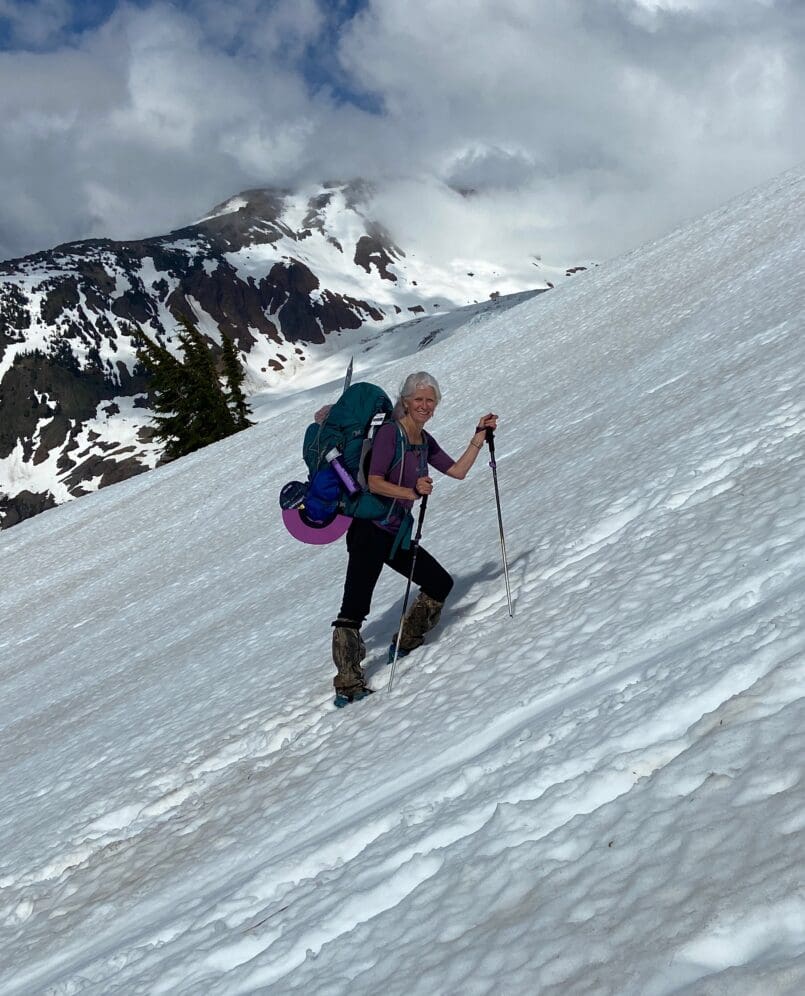
Have fun tackling your summits – whatever they might be!
Sheila


Hi there, I have purchased and followed all the directions for the arctic animal quilt. I’ve never worked with cuddle or with double side fusible, and I must say I love it. I am at the end and now I am a bit confused as to how to put it all together with a backing. The book states that there is no batting between the sashing which is confusing me a bit. Do you have tutorial that I can view to complete this crib size quilt. Many thanks
Hi
It’s Sheila – If you used 1/2″ seams on everything on the front – and put batting beneath each of the 15″ x 15″ blocks – when you use a 1/2″ seam when you use the sashing to attach the blocks together – the batting from the two blocks will fill in the space – I hope that helps – you are welcome to call me at 360-907-0758
There is also a tutorial on our website – called Sewing with Sashing – under the tips and tutorials menu – Here’s the link
https://mckaymanormusers.com/sewing-sashing-tutorial/