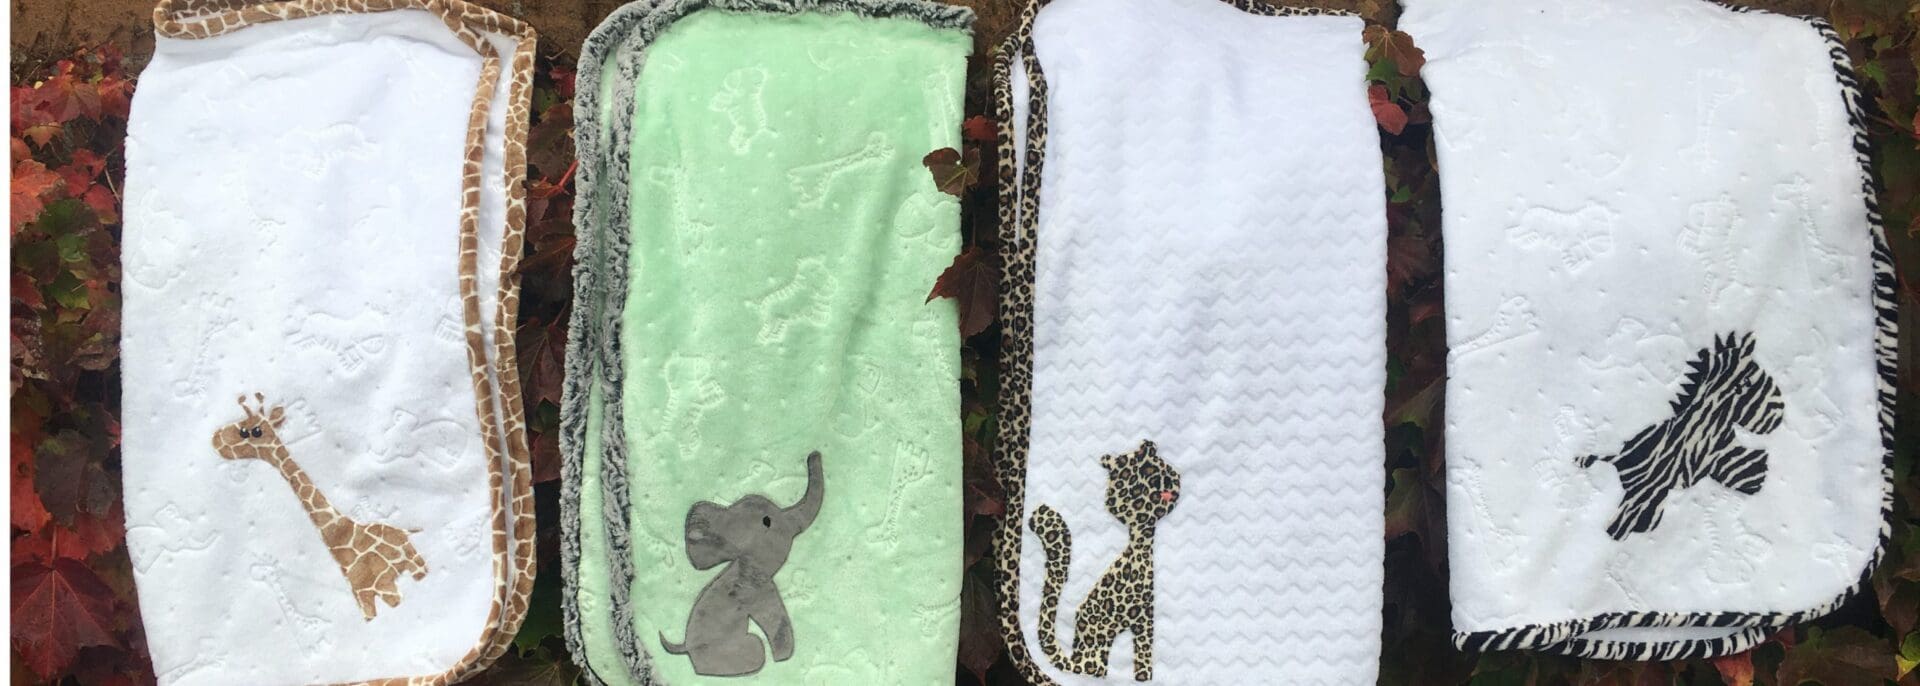
Looking for a quick and easy gift?
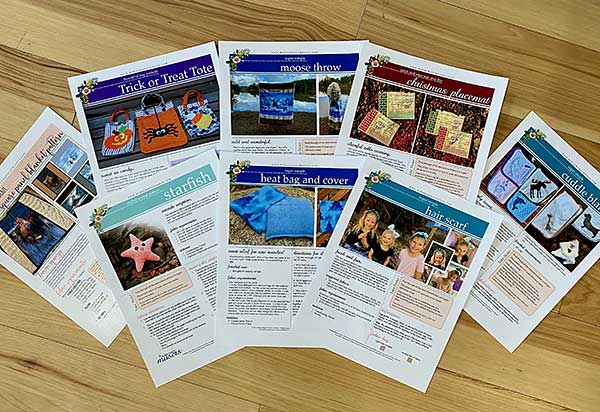
Try one of our double-sided cuddle blankets! We just taught this class at the Pinners Conference in Utah and will be teaching it again at the Pinners Conference in Arizona. We created a pattern you can download for free from our website. When you print it out you fill find QR codes built into the pattern which will take you to our You Tube channel where you will find videos for almost each step of the process. Even a new video to show you how to add the raw edge applique.

Here’s a overview of the steps.
Step 1 – choose your fabric!
We love using Shannon Fabrics double sided cuddle, but you can choose any fabric that is soft and cuddly on both sides – even fleece will work.
Step 2 – cut the blanket to the desired size.
When we use Shannon Cuddle Fabric it is typically 60” wide so we cut 30” x 30” squares so we can make the best use of the fabric. It is also the perfect size for a newborn baby – or to take on a trip in the carseat or the stroller.
Step 3 – round the corners.
We use this really high tech tool called a dessert plate – Just place it in the corner and use a marker to draw the arc and then cut on the line. Do this for all four corners.
Step 4 – cut the binding fabric.
You will need a 2” strip of fabric that is long enough to go around the perimeter of the blanket. When you blanket is 30” x 30” you will need 120” of binding so cut two 2” strips from your 60” wide fabric. You can choose to use a fluffy soft fabric like Shannon Luxe Cuddle or a flat pile like you find on Cuddle 3 fabric.
Step 5 – sew the two strips together.
With right sides together sew the two strips of binding fabric together on the short edge.
Step 6 – attach the binding to the blanket.
In a nutshell you pin (or better yet – clip) the binding to the outside edge of the blanket and sew all the way around the perimeter and then join the ends – Wrap the binding to the other side of the blanket and stitch in the ditch around the blanket. It’s best to head out to get the free pattern and watch the videos at this point.
Step 7 – add a cute applique.
We have an entire applique library out on our website with fun appliques you can add to the blanket. In addition – almost every one of our patterns has appliques that come with it. Check out one of our newer patterns – Bind it with Knit – it comes with 8 different appliques- a flamingo, a swan, a bear, a bunny, a deer, a unicorn, a fox and a lobster. It also has directions for five different projects.
Head on out to our shop to download the pattern for free – and watch the video tutorials to see the step by step directions.
If you haven’t downloaded a free product before … you need to put it in your cart and ‘checkout’ – the cost will be zero – but we need your email address to send you the link for the downloadable pattern.
Have fun being creative!!!
Sheila


0 Comments