Halloween is just around the corner guys!!! I’m doing my best to get ready before the actual holiday this year, but it’s a bit difficult to get anything done with 3 littles running around!!! I’ve been creating some new Halloween decor and clothing, and playing around with my Silhouette Cameo in the process. So in this post I’m going to be highlighting using a Silhouette Cameo and Heat Transfer Vinyl to make some cute Halloween shirts! I did designs for you and your kiddos!
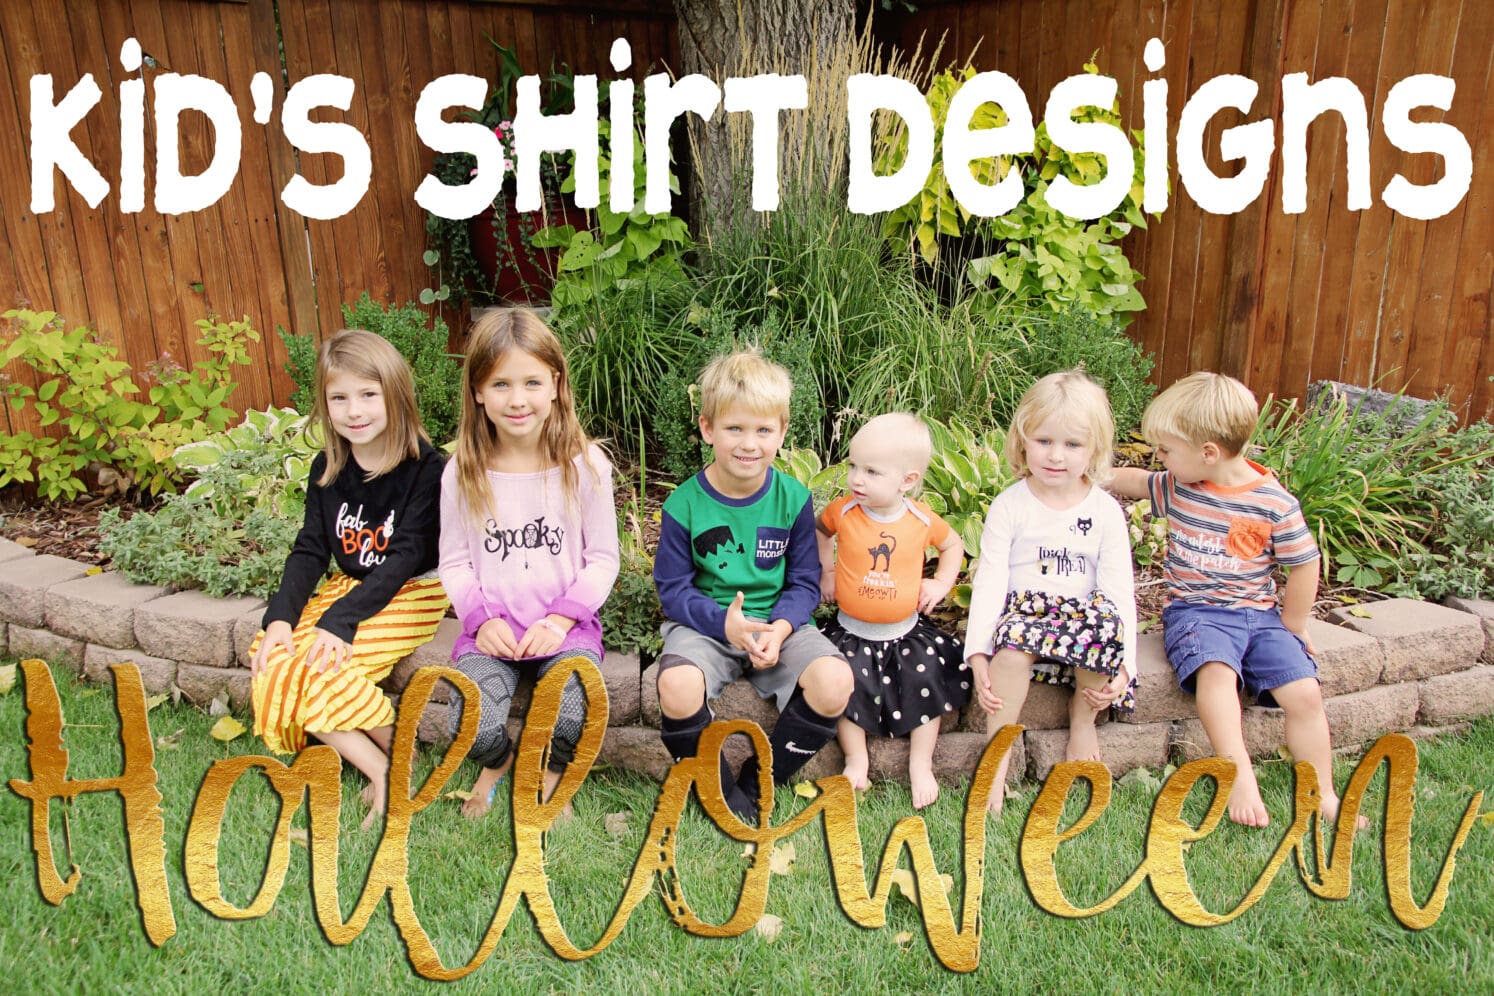 Look at all these cute kids! 3 are mine and 3 I “borrowed” from a good friend to help me model the shirts. I put together a (unintentionally!) super long video tutorial where I walk through the whole process of creating a HTV (heat transfer vinyl) design shirt. Sometimes it’s easier to watch than read, so if that is you, check out my video tutorial 🙂 I discovered making videos is harder than it looks, so forgive me that it is not terribly professional and that my craft room is so messy!
If you would prefer to read than watch I’m going to give a brief overview of how to do it.
First you need a design! You can use Silhouette design studio to design your own, or you can find designs from the Silhouette store, or if you like mine I’m offering them here:
If you purchased one of mine, download it to your computer, and remember where you’ve saved it. Open the Silhouette Studio, and select “File” “Merge” and select the image. Make sure the image is selected, use the replicate panel to mirror the image. For HTV your image needs to be the mirror image of the actual image. Open the Trace panel and select the trace button. You will want to put a box around the area you want out of the vinyl. In my video tutorial I used two types of vinyl so selected part of the image and put it on one piece of vinyl, and selected the rest to be on another. You will need to select the Page Set Up panel and have the page setting match the vinyl you are using and whether or not you will be using a cutting mat. When cutting vinyl you don’t have to use a mat, but you can, and you can actually use more of the sheet if you do. Load the vinyl into the Cameo, and click the Send button. From here you will need to set your cut setting to match the vinyl you are using. I like Expressions Vinyl: https://expressionsvinyl.com they have a great selection of vinyl at a good price. They also have a very helpful sheet with all the recommended cut and heat settings which have always worked great for me: http://expressionsvinyl.com/machine-setting.html Use the settings recommended by the vinyl that you are using, and send to the Cameo, and cut out the designs.
Once your design is cut out, Unload from the machine and remove from the mat if you used one. Cut out around the design, then weed out the vinyl around the design. You want to leave the design on the glossy carrier sheet, and remove just the vinyl around the design. Now you will place the design on your shirt and heat fuse it in place using an iron or a heat press. Again reference the specific recommendations for the particular vinyl you are using to know how long to apply the heat, how hot it should be, and when to remove the plastic carrier sheet. For some vinyls it needs to cool completely for others its best to remove when hot, and some when warm. When layering different colors, only do one at a time, don’t try to put a piece under a clear piece of carrier sheet, it never works well. And there you have it- your own Halloween shirt!
Now if this seems like too much work for you, which is understandable because it is 🙂 or if you don’t have a Silhouette but would still like to add one of these cute designs to your own shirt then you can purchase a pre-cut and weeded design here:
We’ve done all the work for you, all you have to do is iron them in place!
Also you may have noticed the adorable little skirts my girls are wearing???
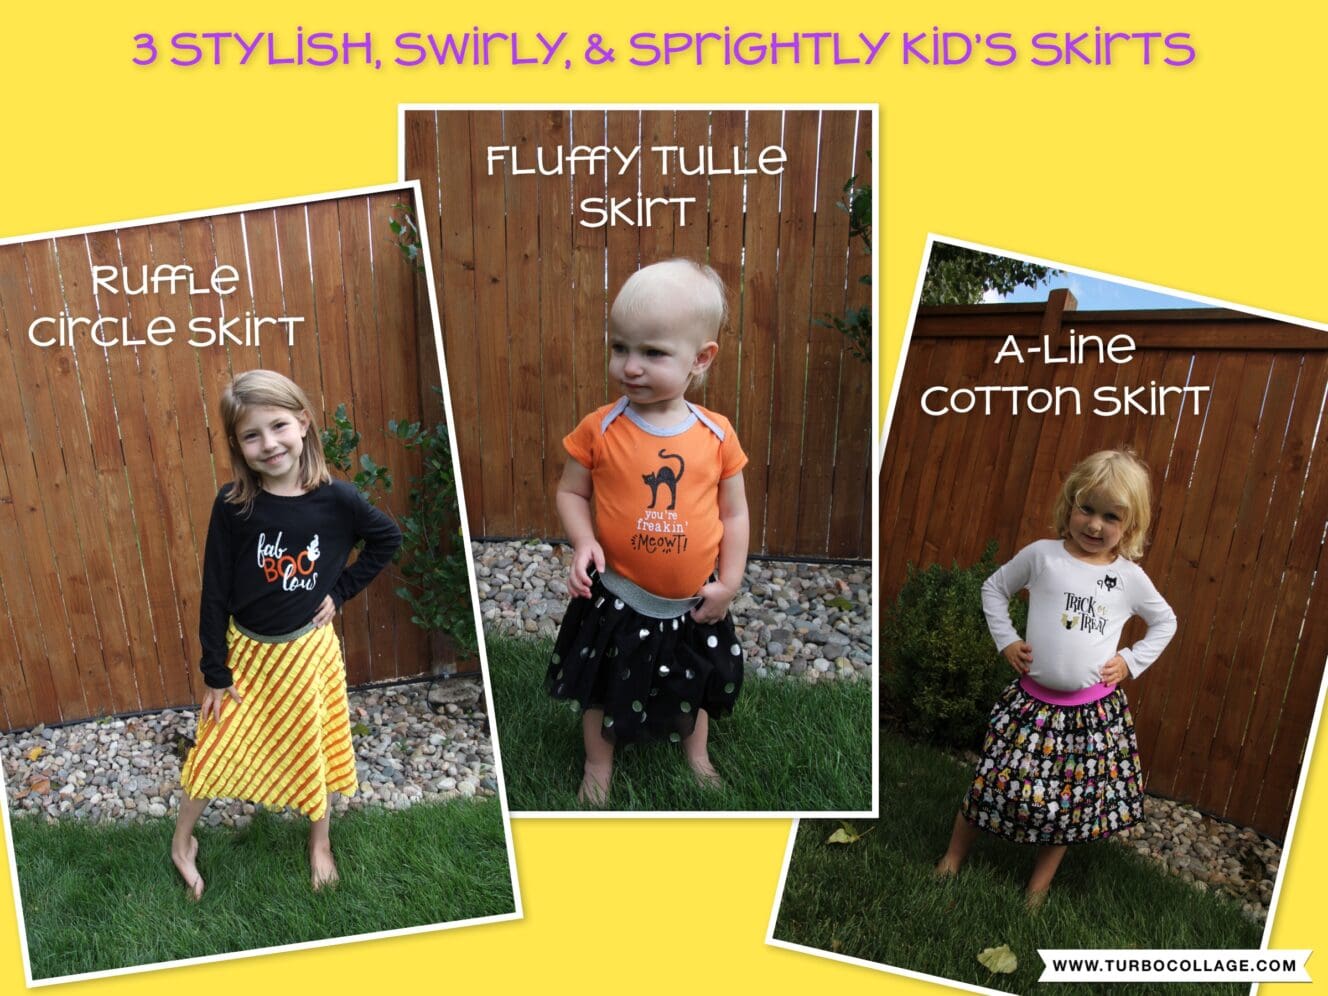
Gabbie is sporting the Ruffle Circle Skirt made from a yellow and orange candy-corn striped ruffle fabric.
Coco is rocking the fluffy tulle skirt in a black and silver dot tulle.
Rozzie is being sassy in the A-line skirt I made from some cute Riley Blake cotton fabric.
All are super quick and easy to make, and if your girls are like mine, they will love them! If you don’t have this pattern yet, you can get it here in printed form:
or here in downloadable:
Have fun getting Halloween ready!
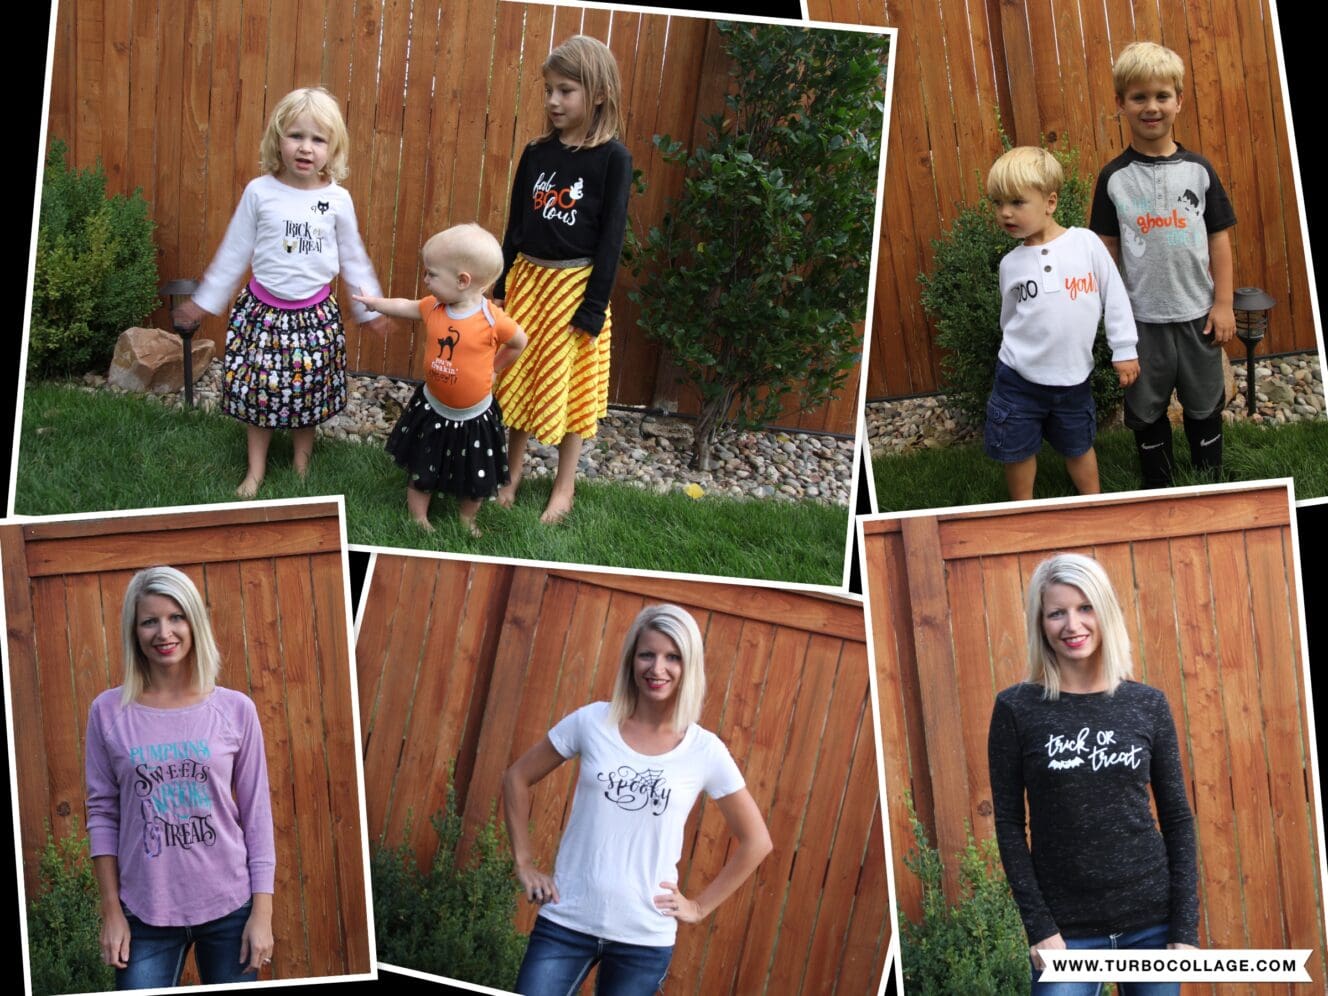
women’s and kid’s halloween shirt designs


0 Comments