
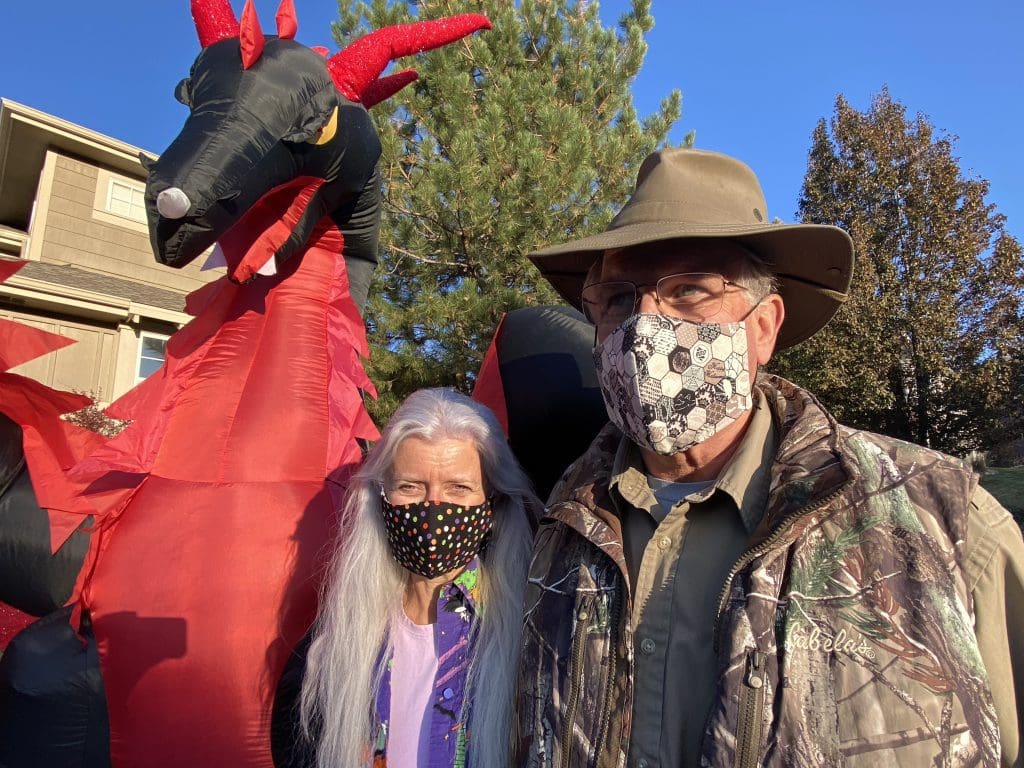
Usually Halloween masks would mean some part of a costume, but in the year 2020, it also means a cloth mask to wear in public spaces that is in a festive Halloween fabric!
When I first started making handmade masks in the spring I searched around to find the pattern I liked best. I settled on a pattern put out by Project Mask from the Health Department of the University of Utah. I liked that it was a fitted style that didn’t have too much bulk and fabric on your face, and that it created a cup shape that kept the mask away from the mouth. I ended up changing a few things and adding some options to make it more to my liking.
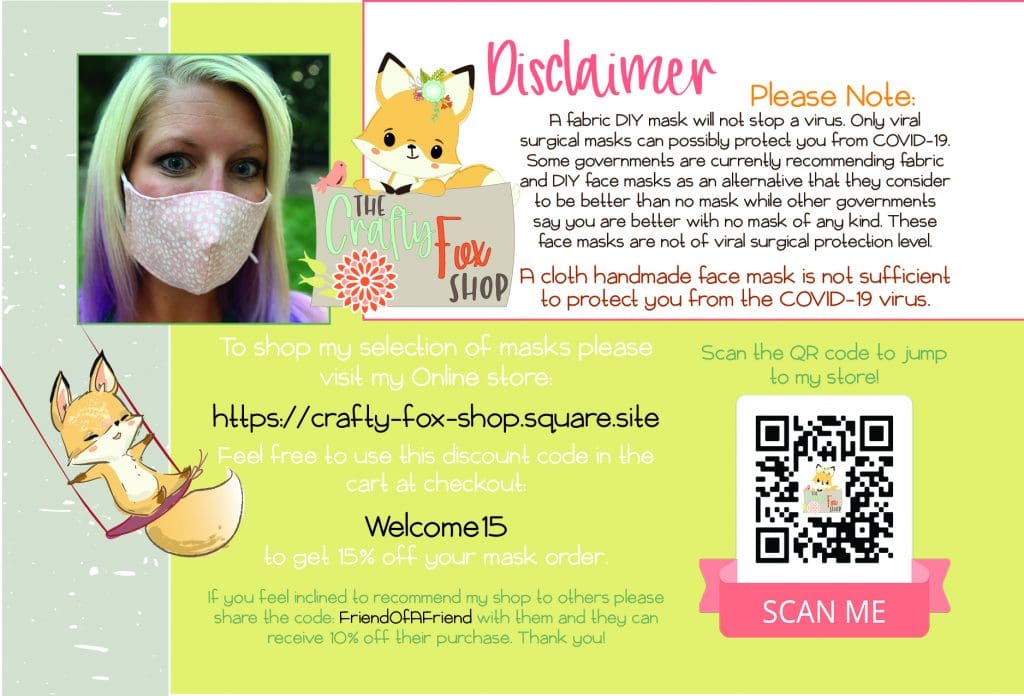
University of Utah Health’s website lists the proper usage of this type of face mask, recommended method of putting it on, wearing it, taking it off, and cleaning it. Click HERE to read up. Ultimately please remember that handmade face masks best purpose is to keep you from potentially spreading your germs to others (not to protect you from catching germs- this type of mask is not considered adequate protection for the wearer from catching the COVID-19 virus, only a medical grade N95 mask can do that).

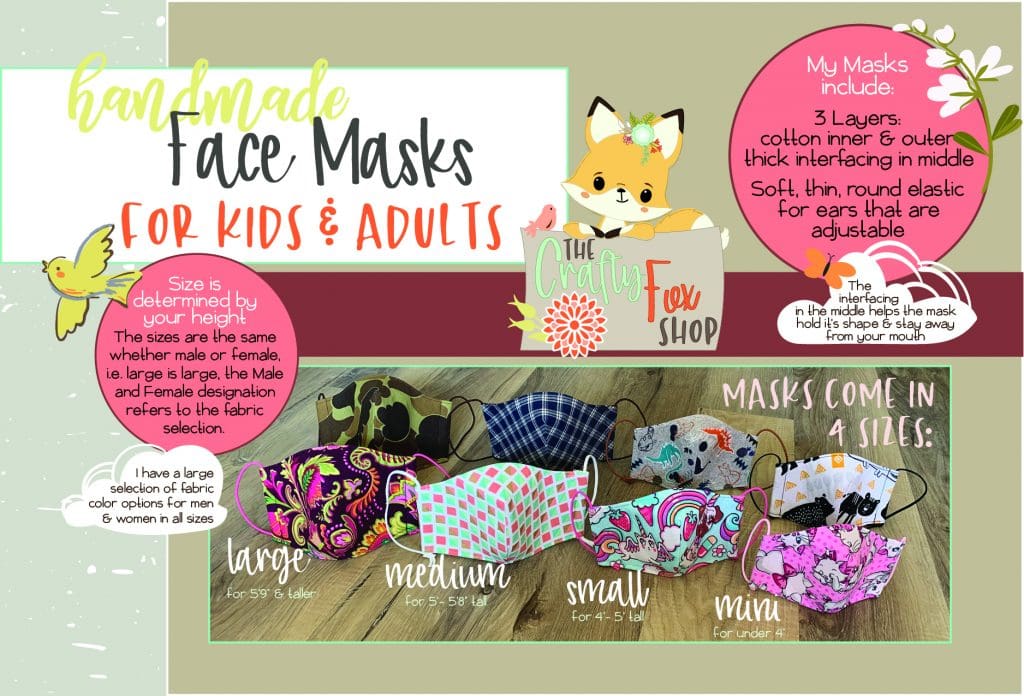
Because I did end up making a few modifications to the pattern I thought I would write up my version in a free pattern to make it easier to follow along with how I made them. My biggest change was to add a layer of stiff interfacing in-between the layers of cotton. I have no evidence or proof of this, it is all my own reasoning, but I read that vacuum bags could substitute as a filter, and I figured a thick stiff interfacing reminded me of a vacuum bag, and would be easier to sew with. So I’m not sure how much a “filter” the interfacing is, but, I figure it has to provide some additional filtration more than nothing, so I would say its at least as good as 3 layers of cotton- LOL! Plus I mostly wanted it to help the mask hold it’s shape and not collapse in on it’s self while wearing it, this is what really helps it stay off your mouth while wearing it. I used Pellon 809 Decor Bond Interfacing it can be found at most fabric and craft stores, it has a fusible on one side of the interfacing.
Another addition that is not in the original pattern (I didn’t do this step very often, generally just for people who asked since it was a lot of extra work) was to add a wire nose bridge. I feel like it only mattered for people who wear glasses, this helps stop your glasses from fogging up by having the wire to mold it to your nose.
For the elastic I found the type that I liked best was a skinny, round, soft elastic that was 1/4″ or 1/8″. I found the best source of this was Etsy. My favorite place was called Lace & Trims and they had black & white as well as a whole assortment of cute colors. Also, I’m really glad I had this Clover Loop Turner for pulling the elastic through the casing channels- it was definitely the easiest solution!

The last change I made to the original pattern was to add an additional size. their pattern had 3 sizes: Large, Medium, and Small. I created an additional size I call the Mini for smaller kids. After a bit of trial and error I found the best way to recommend sizing is based on height. Seems odd I know, but generally the taller you are, the longer your face is, and the larger masks are taller from nose to chin. So while large usually works for adult men, I’ve found some women prefer at as well if they are tall. So I recommend Large for people about 5’9″ and taller. My husband is about 5’8″ and he likes the medium better, Kayla 5’9″ and she can wear both but prefers the medium as well, so it’s not an exact science as people have different preferences. I had some people 5’8′ who just wanted more coverage and went up to the large. So generally I recommend Medium for people about 5’0″ to 5’8″ which is most adult women and teens. Then for the Small I say about 4′- 5′, and again this is just an estimation, but I found some kids who are on the smaller side needed something a bit smaller which is why I made a Mini size.
Now if you like my masks but don’t feel like sewing them I’ve made a bunch that I sell! Check them out in my online store: The Crafty Fox Shop Use the code: Welcome15 for 15% off your total mask order!
I figure if we have to wear masks, at least they can be cute and comfortable! I hope you liked my tips and you find them helpful!


0 Comments