
Man …. I am so ready to get out and explore!!! But alas, our governor just extended our stay-at-home orders until the end of May but they are opening some of the State Parks for day use – so I plan to head there as quickly as possible.
In the meantime – thought I might share a couple of projects that you can to do with materials around your house – all it takes is wood and fabric – and a few other things from a hardware store (like Home Depot) – good thing that has been deemed an essential business.
Photoboards
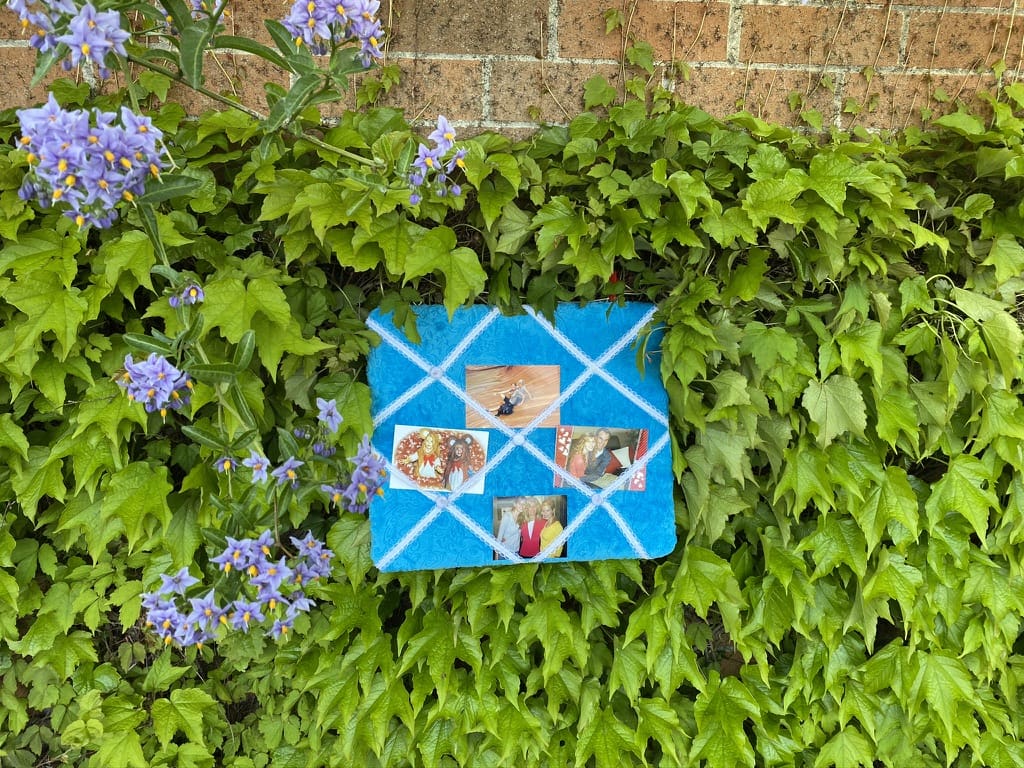
These were very popular when I was I was a young pup – we made them during one of our ‘young women’ projects at our church. You can make them any size and shape you would like.
Tools and Materials Needed:
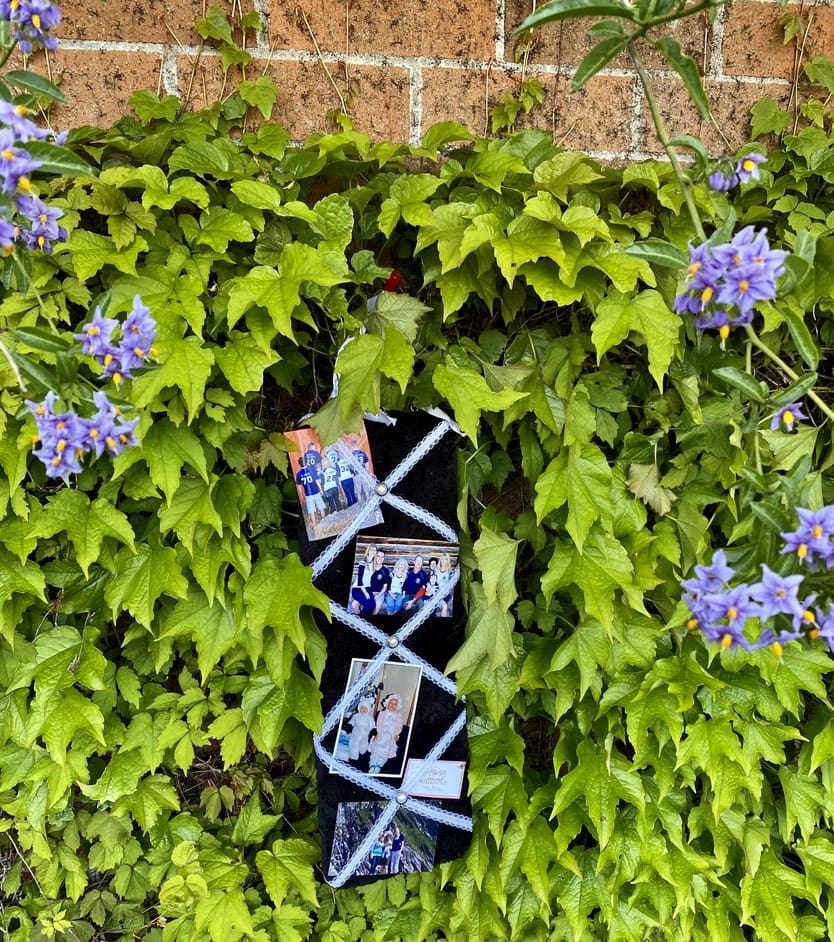
- Wood Frame – for the black photo board we created a frame that was 36” tall and 8” wide. You’ll also need nails and a hammer to assemble the frame.
- Fabric – we used cuddle fabric – because we love it – but you can use any kind you like – canvas, cotton, silk, batik … even denim or an old t shirt. The fabric needs to be 4” wider and 4” taller than your wood frame. For the black photo board the fabric was 40” tall and 12” wide.
- Foam Core Board – cut the same size as the outside perimeter of the frame – for the black one it is 36” x 8”.
- Batting – we used warm and natural batting – it is cut the same size as the foam core board.
- Staple gun and staples – we used ½” staples
- Ribbon or Lace – 3=5 yards depending on the size of your board.
- Buttons – the number depends on how many times the ribbon crosses each other.
- Hot glue gun and glue
- Sharp needle and sturdy thread
- Two screw eyes from the hardware store with a hole large enough to thread your ribbon through it.
Directions:
- Create a wood frame your desired size – we used wood that was ½” x ¾”. You can also choose to add brace pieces if the frame is ‘large’. By the way, the blue photo board is 19” wide by 16” tall.
- Cut a piece of foam core board the same size as the wood frame.
- Cut a piece of batting the same size as the wood frame.
- Cut a piece of fabric 4” wider and 4” taller that the wood frame.
- Place the fabric right side down on a solid surface.
- Place the batting in the center of the fabric – the fabric should extend two inches on each side of the frame.
- Place the foam core board directly on top of the batting.
- Place the wood frame directly on top of the foam core board.
- Pull the fabric up to the top of the frame in the center of the left side and staple in place.
- Pull the fabric up to the top of the frame on the right side and staple in place.
- Pull the fabric up to the top of the frame on the bottom side and staple in place.
- Pull the fabric up to the top of the frame on the the top of the frame and staple top of the frame and staple in place.
- Continue pulling the fabric up to the top of the frame and continue stapling in place – the staples should be about 1” apart – leave the corners for last.

- When you get to a corner – pull the fabric to the top and miter the corners – i.e. fold the fabric until you get a flat corner then staple in place. If it feels bulky – you can cut away some of the extra fabric – just don’t cut what you will ‘see’.

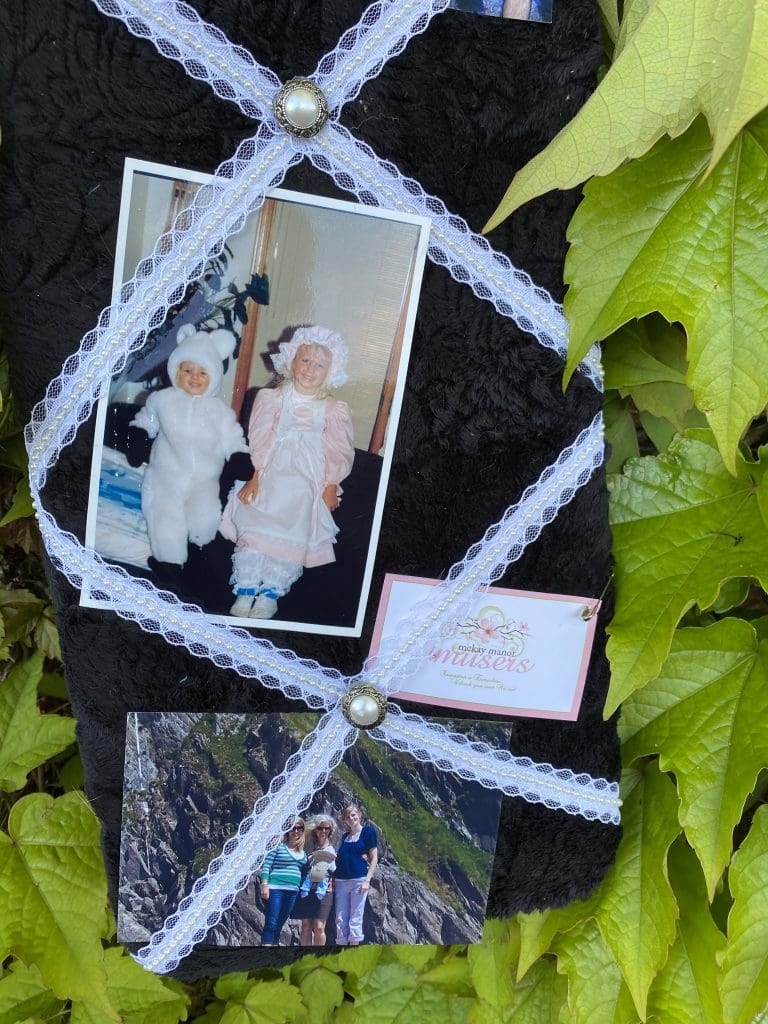
- Turn the board over so it is right side up. Decide how you would like to put the lace or ribbon on the board so you can tuck pictures behind it. Try to space them evenly – and multiples of three or five seem to be pleasing to the eye. When you determine the ‘final’ placement – you can staple them in place on the back side of the board.
- On the front of the board wherever the ribbons cross – you can add a button to hold it all in place. We used a really sturdy needle and pushed it through the foam core board, then through the shank on the button and then back through the foam core board then we tied the two ends in a square knot. Alternatively you can use a hot glue gun to attach the buttons to the board.
- Add the screw eyes to the top of the board. Thread a piece of ribbon through each of the screw eyes and tie each end in place.
- Add photos to the board and hang on the wall. Plan to smile each time you walk by.
Inspirational Messages
You can follow a similar process to add an Inspirational message to fabric and then attach it to a wood frame. You can then link multiple frames together if desired. These are three of my favorite words … live … laugh…. love. To give you reference points for your project – the live frame is 11” x 9”, the laugh frame is 16” x 11” and the love frame is also 11” x 9”. Base your sizes on the words that you want to put in the frame.

Inspirational Messages
We used the alphabet letters that you will find in our 6 so simple baby blanket pattern. We traced the ‘reversed’ letters onto steam-a-seam lite 2 (a fusible web). The letters come already reversed in our pattern. If you use one of your own – or get one from the web – make sure and reverse the letters when you trace them so they will be ‘correct’ when you applique them. See Gabbie’s name on the blanket below – We do have a downloadable version of this pattern that shows six different ways to make a baby blanket from two 30″ by 30″ pieces of coordinating soft cuddle fabric …… and of course the fun alphabet.
Attach the fusible web to the WRONG side of the desired fabric and iron in place according to the manufacturer’s directions. Cut out the letters and then iron the letters onto the fabric that will be used for the frame. We also used a decorative thread to stitch around the outside of each letter. You can add a border around the ‘message’ – just make sure the final piece ends up 4” wider and 4” taller than the frame.

The border fabric still needs to wrap around to the back so you can staple it to the frame. Just follow the same process as above – add the screw eyes and ribbons and to hook multiple frames together.

Stand back and admire your masterpiece. I also made a set of frames with the words listen, learn and leap – something I try to do as often as possible.

Faux Fur Bag
Speaking of wood frames … if you are really adventurous you can attempt the ‘Fang Bag’. I made this bag before we went on our first trip to Africa. It was my carryon – and had all my camera and computer equipment in it. When I entered the plane the flight attendant asked me if I needed a cage and if it would bite – so it got the nickname of fang. Again … all the materials you need come from the fabric store or the hardware store.

If you look at the photo in the bottom right corner you can see that we used a wooden frame inside the bag. You can make the bag out of fur, canvas, and yes – even cuddle fabric – see the grey, white and yellow chevron version above. Here’s a link to the pattern.
And speaking of fur (and fangs?) … Kira just put together the downloadable version of the Fabulous Greek Felines pattern and you can access it with this link.

And we created kits for the kitty quilt and only have a few left – We have dropped the price from $80 to just $50. The kit includes the full color pattern (valued at $12), all of the fabric for the top of the quilt and all SEVENTEEN of the cuddle fabrics you will need for the 12 kitty appliques.

We also have a building blocks version of the kit – same $50 price.

The cotton fabric from this kit comes from the Joyful Fusion fabric collection from Art Gallery – you will love the feel of their fabrics. The kit also includes all SEVENTEEN of the cuddle fabrics you will need for the kitties – so you don’t have to go out and find them.
Stay safe and have fun sewing!!!
Sheila


0 Comments